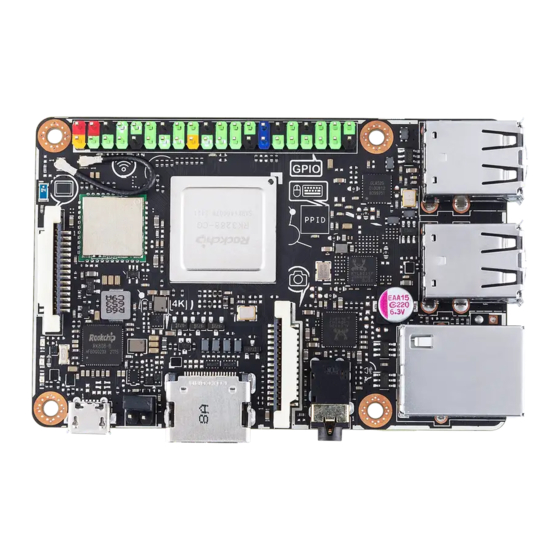
Asus Tinker Board Series Manuel de l'utilisateur - Page 9
Parcourez en ligne ou téléchargez le pdf Manuel de l'utilisateur pour {nom_de_la_catégorie} Asus Tinker Board Series. Asus Tinker Board Series 12 pages.

- 1. Table of Contents
- 1. 1 Basic Requirements
- 2. 2 Getting Started
- 2. Setting up Using Emmc (Tinker Board S Only)
- 2. Setting up Using a Microsd Card
- 3. 3 Writing the os Image
- 3. Using Etcher (Cross-Platform)
- 3. Using DD Command (Linux)
- 4. 4 OS Write Recovery (Tinker Board S Only)
- 4. Rewriting the os Using UMS from Emmc
- 4. Rewriting the os Using UMS from a Microsd Card
3.2
Using dd command (Linux)
To write an image using dd command:
1.
Insert a microSD card to your Tinker Board (or Tinker Board S),
or
connect your Tinker Board S to a PC via a micro USB cable (Tinker Board S only).
Please refer to your Tinker Board product manual for the location of the microSD slot.
2.
Run the following command:
dd bs=4M if=/path/to/tinkeros.img of=/dev/sdx
Replace /dev/sdx with your drive, e.g. /dev/sdc.
Do not append a partition number to your drive name, for example /dev/sdc1.
Use the lsblk command to find the drive name of your device. Make sure that no partition of the
device is mounted.
3.
Only remove the microSD card or disconnect the Tinker Board S from the PC once
the command sync is completed to ensure the data was written completely.
9
