Advanced Axis AX-I/O-48 Manuel d'instructions d'installation - Page 11
Parcourez en ligne ou téléchargez le pdf Manuel d'instructions d'installation pour {nom_de_la_catégorie} Advanced Axis AX-I/O-48. Advanced Axis AX-I/O-48 20 pages. Switch led modules

5 Switch LED Module Programming
Each Switch LED Module must be programmed for panel recognition and functionality utilizing the latest PC-NeT,
Field Configuration Programming.
The following is a quick reference guide on how to set up inputs (switches) and outputs (LEDs). It is not intended
as, nor does it come close to being, an exhaustive list of the available options associated with the Switch LED
Module programming capabilities.
Before the Switch LED Module can be programmed, it must be added to the PC-NeT like any other device/module.
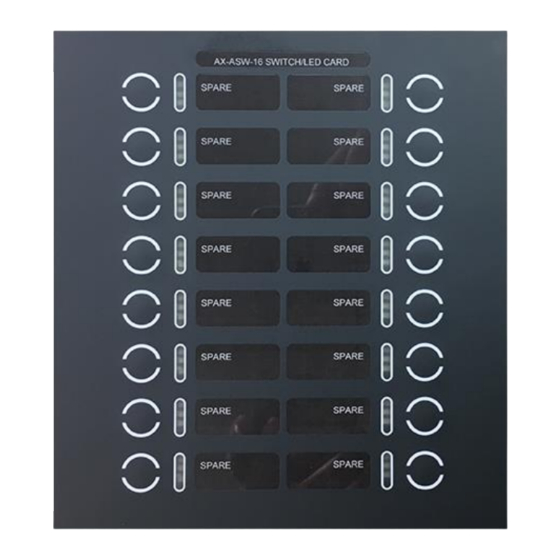
Select the Switch LED Module type (Switch LED Card, IO Card, Red/Yellow LED Card, Red LED Card or Yellow
LED Card) under the Peripheral Bus, Device Selector, Peripheral Bus Interfaces of the Ax4-CTL-4 and double click
the associated peripheral bus address (26 thru 41 [module address 0 thru 15 respectively]). Correlation of the
switch LED module address is DIP switch address 0 = peripheral bus address 26, address 1 = peripheral bus
address 27, etc, etc, to address 15 equaling peripheral bus address 41.
Figure 12 shows an example of peripheral bus address 26 being allocated to a Switch LED Card (DIP switch
address 0), peripheral bus address 27 being allocated to an IO Card (DIP switch address 1), peripheral bus address
28 being allocated to a Red/Yellow LED Card (DIP switch address 2), peripheral bus address 29 being allocated to
a Red LED Card (DIP switch address 3) and peripheral bus address 30 being allocated to a Yellow LED Card (DIP
switch address 4).
www.advancedco.com
www.advancedco.com
Figure 11 – AX-I/O-48 Switch Input / LED Driver Output Wiring
11
