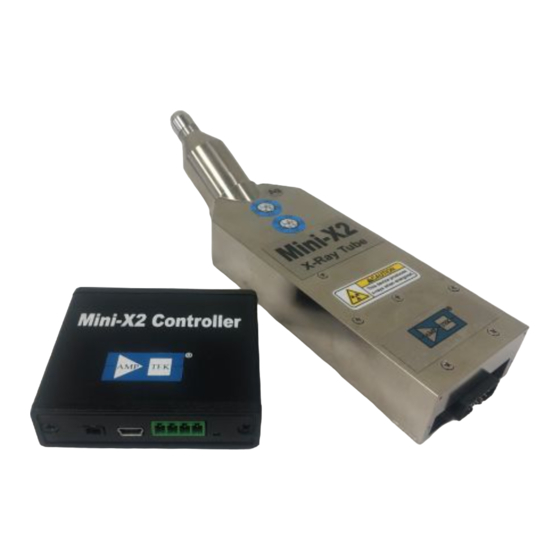
Amptek AMETEK Mini-X2 Manuel de démarrage rapide - Page 2
Parcourez en ligne ou téléchargez le pdf Manuel de démarrage rapide pour {nom_de_la_catégorie} Amptek AMETEK Mini-X2. Amptek AMETEK Mini-X2 4 pages.

6
Quick Use of the Mini-X2
1. Remove the safety plug from the cover attached to the Mini-X2 X-ray tube. Either install the
collimator into the cover or leave the cover empty. Re-attach the cover to the X-ray tube.
2. Make sure that you have verified the anticipated direction of the X-ray beam as described above.
3. The Mini-X2 Controller has a hardware interlock to prevent accidental radiation exposure. This
interlock must be enabled, connected through a series resistance, to produce X-rays (as discussed
in sections Error! Reference source not found. and
Error! Reference source not found.. Install the interlock
plug to produce X-rays.
4. Open the Amptek Mini-X Controller Software. It will
appear as shown to the right.
5. If it displays the "Mini-X2" in the box, as shown, then
click the "Connect" button.
6. If you are operating another Amptek device, for example an X123 spectrometer, you will see a
display like one on the right. The software has found the
digital processor. The "count" is 2 and it not say Mini-
X2 in the dialog. Increment "Select Device" to 2 and it
should display the "Mini-X2" information. Then click
"Connect".
7. Now you will see the screen to the right. The software
will display the serial number of the MX-50. It
also displays the status of the Interlock; it must
be "Closed" to enable the tube.
8. The software defaults to a setting of 15 kV and
15 A. To change the values, click into the
appropriate text box and type in the desired
number.
IMPORTANT: Do not enter a voltage higher
than is rated for your unit. In addition, the total
power is governed by the Isopower curve. Do
not enter a current that exceeds the indicated
value for that voltage. If a requested current is
too high, the software will automatically adjust
it to the maximum allowed value.
Mini-X2 User Manual Rev A0
Page 2 of 4
