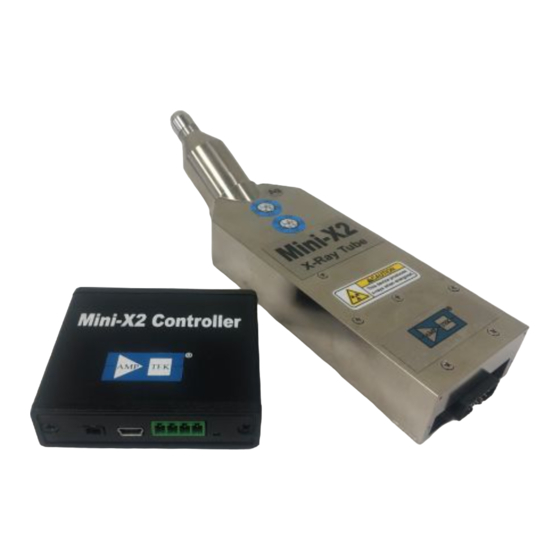
Amptek AMETEK Mini-X2 Manuel de démarrage rapide - Page 4
Parcourez en ligne ou téléchargez le pdf Manuel de démarrage rapide pour {nom_de_la_catégorie} Amptek AMETEK Mini-X2. Amptek AMETEK Mini-X2 4 pages.

7
Troubleshooting the Mini-X2
If you cannot connect the software to the Mini-X2:
•
Was the software correctly installed?
•
Were the drivers correctly installed?
•
Are all the cables connected?
•
Is the Mini-X2 power plugged in?
•
If you cannot get it to connect, then open the software and take a screen shot showing the
software. Open device manager and take a screen shot showing the devices. Sent to Amptek, at
the address below, an e-mail with both screen shots and the LED status (from table below).
What is the color of the LED:
Display
Meaning
Off
No power
Solid blue
Input power OK. Interlock not valid OR no communication interface
Flashing blue
Input power outside range
Solid red
Input power, interlock, communication all OK, but tube has not been
enabled (no X-rays)
Flashing red
Tube operating
If you cannot turn on the HV:
•
Is the interlock closed? Check LED and software display.
If you turn on the HV but see no evidence of X-rays:
•
Is the LED flashing red? If not, the tube is not actually enabled.
•
Did you remove the safety plug from the collimator housing?
•
Is your detector really on?
If you still are not able to make the Mini-X2 work:
•
Click the "Advanced" Tab, then "View Mini-X2 Status". A box will be populated with data. Click
in the box, select the information, copy it, then paste it into a text file (e.g. with NotePad).
•
Still in the "Advanced" Tab, click "View Fault Record". New data will populate the box. Click in
the box, select the information, copy it, then paste it into a new text file.
•
Send an e-mail to
text files with diagnostic information.
Mini-X2 User Manual Rev A0
(X-rays are
ON)
containing a description of your setup and the two
Page 4 of 4
