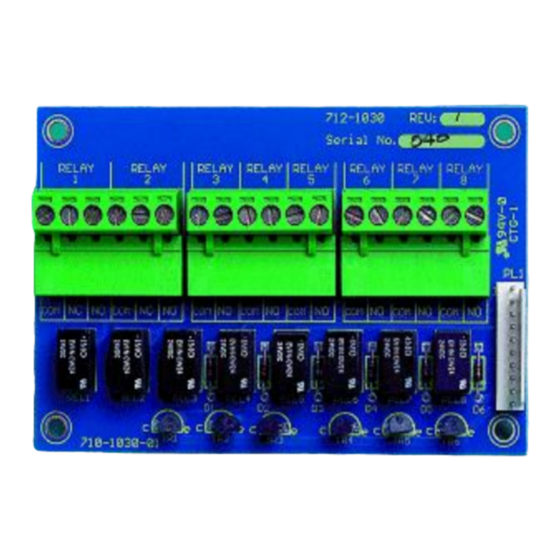
Advanced Electronics MXPro4 Mxp-007 Manuel - Page 4
Parcourez en ligne ou téléchargez le pdf Manuel pour {nom_de_la_catégorie} Advanced Electronics MXPro4 Mxp-007. Advanced Electronics MXPro4 Mxp-007 10 pages. Relay output cards

1 Installation
1.1 Installing the Mxp-007 in the Mx-4100/L
1.1.1 Mounting the Card
The card mounts on 4 pillars in the rear of the enclosure. See
diagram opposite.
Screw in the four spacers supplied into the threaded inserts in the
back box. Use the four M3 screws supplied to securely affix the
card to the spacers.
1.1.2 Internal Wiring
Use the supplied 4-way single in line ribbon cable to connect the
relay card, via the latched header – PL2, to the 4-way latched
header on the base card.
1.2 Installing the Mxp-007 in the Mx-4200/Mx-4400/Mx-4800
1.2.1 Mounting the Card
The card mounts on 4 pillars in the top left hand corner of the
control panel chassis adjacent to the Mx4200/Mx 4400 base card.
See diagram opposite.
Use the four M3 screws supplied to securely affix the card to the
chassis.
It is not possible to install the Mxp-007 in this position if either the
Mxp-021 Sounder Splitter or the Mxp-028 Modem is already
installed.
1.2.2 Internal Wiring
Use the supplied 4-way single in line ribbon cable to connect the
relay card, via the latched header – PL2, to the adjacent 4-way
latched header on the base card.
4
www.acornfiresecurity.com
www.acornfiresecurity.com
PL
5
TB1
Base Card
Cable
Mxp-007
M3 Fixing
Screws
PL
2
TB5
TB2
TB6
PL1
Mxp-007
M3 Fixing Points (x4)
Base Card
