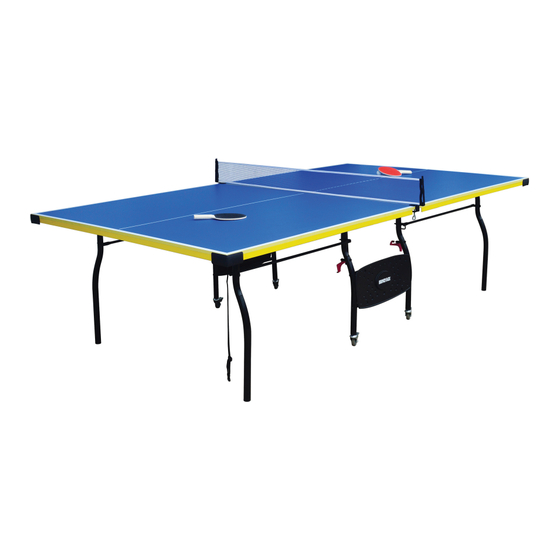
Carmelli NG2325B Manuel d'instructions de montage - Page 4
Parcourez en ligne ou téléchargez le pdf Manuel d'instructions de montage pour {nom_de_la_catégorie} Carmelli NG2325B. Carmelli NG2325B 14 pages. Bounceback 9' table tennis
Également pour Carmelli NG2325B : Manuel d'instructions de montage (10 pages)

ASSEMBLY INSTRUCTIONS
1. Unfold the outer (player end) pre-assembled leg to a straight upright position.
2. Attach the INNER (center end) LEG, #19, to the backside of the TABLE SURFACE, #1 and #2, with METAL
BRACKETS, #8, using SCREWS, #5, in pre-drilled holes. Note: The Metal Bracket's slot opening needs to point in the
same direction as the other leg assembly (toward center end) with both Leg Pins in slots.
3. Attach the LINKAGE TUBE, #6, and TUBE WITH STOP BRACKET, #14, to the legs with BOLTS, #10, WASHERS, #7,
BUSHINGS, #9, and NUTS, #12, as shown below. Note: The ends of the Linkage Tube and Tube with Stop Bracket that
attach to the outer (player end) pre-assembled leg are assembled on the inside of the legs. The other ends, that attach to
the inner (center end) leg are assembled on the outside of the legs. Also note, the position of the Stop Bracket.
IMPORTANT:
Note: Position of
Stop Bracket
Note: Slot position
Tip: The extra hole on the Inner Leg, #19, is used for
installing the safety locks in a later step. Position so
locks will be on the same side when Table Surfaces
are flipped.
#14
#6
4
