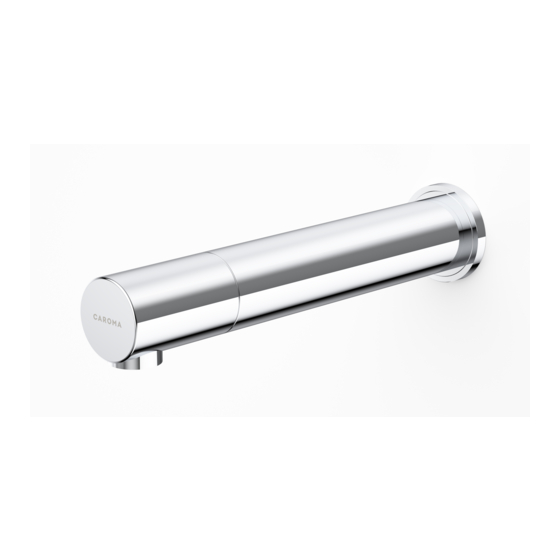
Caroma G Series Manuel d'installation et d'entretien - Page 8
Parcourez en ligne ou téléchargez le pdf Manuel d'installation et d'entretien pour {nom_de_la_catégorie} Caroma G Series. Caroma G Series 16 pages. Electronic soap dispenser
Également pour Caroma G Series : Manuel d'instructions d'installation et d'entretien (16 pages), Manuel d'instructions d'installation et d'entretien (16 pages), Manuel d'installation et d'entretien (17 pages)

INSTALLATION
CONNECTING THE POWER SOURCE
Remove the protective sticker
covering the sensor. Keep away from
1
the sensor range and check that no
objects are in front of the sensor.
Connect the soap pump connector
to the matching connector from the
sensor.
2
Please note that since the connector
is waterproof, some friction might
apply.
IMPORTANT: the 4 contacts connector should be connected properly so that the white
o-ring is not visible and a clicking sound is heard.
PAY ATTENTION: If the 4 contacts connectors will not be connected properly, the pump
will work continuously.
Connecting the transformer: plug
the transformer into the electricity
2a
socket and connect the transformer
connector.
Connecting the battery box
(optional): install the battery box
2b
on the wall underneath the sink and
connect the battery connector.
Wait about 10 seconds before
you put your hands within the
3
sensor range to avoid entering the
adjustment mode.
6
O-RING VISIBLE –
NOT CONNECTED PROPERLY
ONLY THE GROOVES ARE VISIBLE –
CONNECTED PROPERLY
FROM THE TRANSFORMER
FROM THE SOAP
DISPENSER
10
ABOUT
SECONDS
TO THE SOAP DISPENSER
TO THE BATTERY BOX
