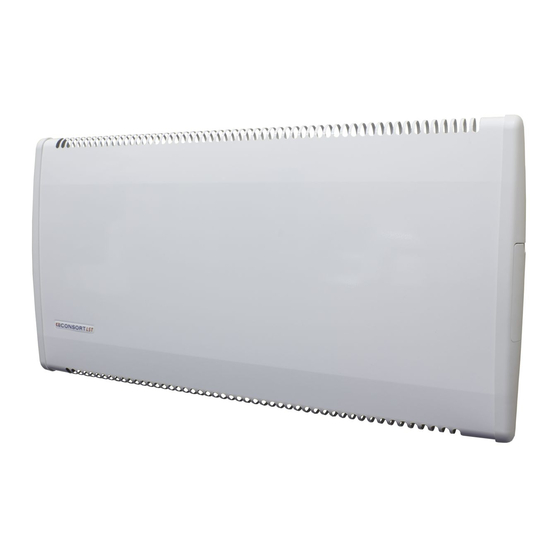
Atlantic LST 800W Manuel d'installation et de contrôle - Page 2
Parcourez en ligne ou téléchargez le pdf Manuel d'installation et de contrôle pour {nom_de_la_catégorie} Atlantic LST 800W. Atlantic LST 800W 7 pages. Low surface temperature convector panel heaters with electronic 7 day timer

Overview
Please read this guide carefully and retain for future use and
maintenance.
This appliance has been designed and manufactured to the
highest international standards, however, care must be taken
for optimal results and safety. This appliance also meets
the requirements of EU Directive 2014/30/EU for EMC and
2014/35/EU Directive.
Safety & Care
Our Low Surface Temperature heaters have been designed and
built to the NHS requirement for safe surface temperatures
which is that no surface which can be touched by the user
will be more than 43 degrees C (at a room temperature of 21
degrees C.) This means that our Low Surface Temperature
heaters out-perform the European Standard by a significant
margin.
The appliance is not intended for use by persons (including
children) with reduced physical, sensory or mental apabilities or
lack of experience and knowledge unless they have been given
supervision or instruction concerning use of the appliance
by a person responsible for their safety. Children should be
supervised to ensure that they do not play with the appliance.
Warning
• Do NOT site the appliance into a corner.
• Do NOT handle the appliance with wet hands.
• Do NOT use the appliance in workshops or rooms where
excessive dust is generated or present.
• Ensure that nothing is pushed into the air outlet of this
appliance.
• Do NOT touch outlet grille when the appliance is in use.
• Do NOT cover or restrict the appliance when in use.
• Do NOT use the appliance if damaged.
• Do NOT leave the appliance unattended where young
children are present.
Connection to the Main Supply
Electrical installation should be carried out by a competent
installer, preferably registered with NICEIC (National Inspection
Council for Electrical Installation Contracting) in accordance
with the 17 edition of the IEE Wiring Regulations, (BS.7671),
and any relevant Local Authority Bye-Laws. This heater is fitted
with a 3-core mains supply cable and should be permanently
connected to the electricity supply via a double pole switch
having 3mm gap on each pole.
A switched Fused Connection unit to BS.1363. Part 4 is a
recommended mains supply connection accessory to ensure
compliance with safety requirements applicable to fixed-wiring
installation.
2
Note: When switched on for the first time the appliance may
emit a slight smell. This is purely the evaporation of a fluid used
in the manufacturing process.
WARNING: This appliance must be earthed.
Thermally Operated Cut-Out
The appliance is fitted with a thermally operated cut-out (TOC).
This is a safety device, which switches the heater off if, for any
reason, the appliance overheats. The TOC can only be re-set
after the appliance has cooled down. In order to re-set the
TOC, proceed as follows:
• Switch off appliance and leave for approximately 10 minutes.
• Switch appliance back on and the TOC will re-set.
• Ensure that the appliance is functioning correctly. If the TOC
control operates again, the appliance should be checked by a
competent electrician.
The heater carries a 'Do Not Cover' label to warn the user that
if the appliance is covered, there is a risk of overheating.
Cleaning
Always disconnect the heater from the mains before cleaning.
The heater should not require any maintenance, but it is
strongly advised that it is kept clean. An occasional wipe over
with a soft cloth is all that should be necessary.
• Do NOT use metal or furniture polish on any part of the
heater.
• Do NOT touch the heater with wet hands or in any way bring
water into contact with it.
If the supply cord is damaged, it must be replaced by the
manufacturer or its service agent or a similarly qualified person
in order to avoid a hazard.
Mounting
To wall mount, the wall bracket supplied must be used. Remove
the wall bracket from the heater, with the chains attached, by
removing the 2 securing screws from the top of the rear panel.
Fix the wall bracket to the wall using 4 screws.
Fig 1: Present the heater to the bracket
Fig 2: Locate the heater onto the bottom lugs via the 2 slots in
rear panel. Hinge the heater upwards and reattach the chain
assembly, then move the heater to the upright position. The
link plates should slide under the slotted bracket lip.
Fig 3: Tighten both retaining screws.
