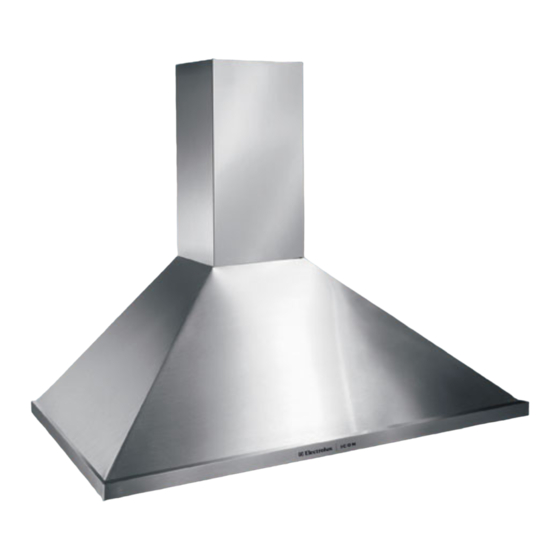
Electrolux ICON E36WV100FS Manuel d'utilisation et d'entretien Instructions d'installation - Page 18
Parcourez en ligne ou téléchargez le pdf Manuel d'utilisation et d'entretien Instructions d'installation pour {nom_de_la_catégorie} Electrolux ICON E36WV100FS. Electrolux ICON E36WV100FS 24 pages. Electrolux ventilation hood installation instructions and use & care guide

18
Installation
INSTALLING THE FLUE
FLUE MOUNTING BRACKET
UPPER
FLUE
MOUNTING
LOWER
SCREWS
FLUE
3.9 x 9.6mm
HOOD
Figure 14
INSTALLING THE FILTER(S)
1 To remove the grease filters, grip the latch and pull it down. This will disengage
the filters from the hood. Tilt the filters downward and remove.
2 To install the grease filters, align rear filter tabs with slots in the hood. Pull latch
tab down, push filter up into position and release the tab. Make sure the filter is
securely engaged after installation.
GREASE
Figure 15
FILTERS
1 Carefully slide upper flue down inside the lower flue.
2 Lift and position the flue assembly onto the top of the hood.
3 Secure the lower flue to the hood with (2) 3.9 x 9.5mm pan head
mounting screws.
4 Raise the upper flue until its holes align with holes in the flue mount-
ing bracket (located on ceiling). Secure the upper flue with (2) 3.9
x 9.5mm pan head mounting screws.
NOTE
Prior to use, remove protective film from the filter frame.
