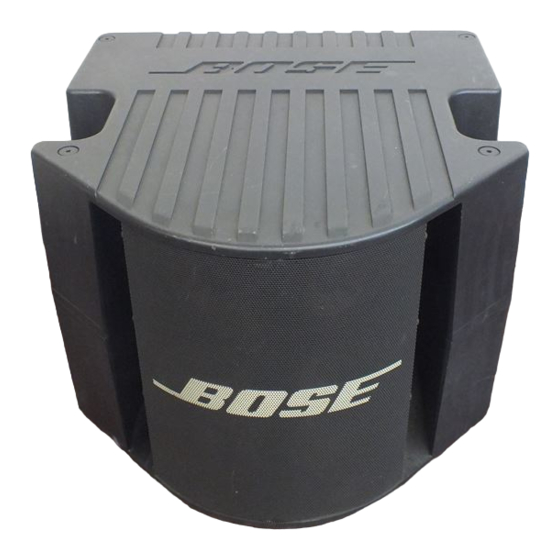
Bose ACOUSTIMASS PRO Manuel - Page 6
Parcourez en ligne ou téléchargez le pdf Manuel pour {nom_de_la_catégorie} Bose ACOUSTIMASS PRO. Bose ACOUSTIMASS PRO 19 pages.

DISASSEMBLY/ASSEMBLY PROCEDURES
11.3 Lift the chassis cover up and remove
the connector from the PCB.
12. Amplifier Chassis Cover Replacement
12.1 Align the chassis cover to the chassis
and replace the ten screws (E) that are
located on each side of the chassis and the
ten screws (F) that are located on the top of
the chassis.
13. Bottom Panel Removal
13.1 Perform procedure 1 and 9 first.
13.2 Remove the eight screws (B) and the
A
A
(Figures 1, 2, 3, 4)
B
B
B
B
Figure 1. Bottom Panel
E
Figure 2. Side View of Chassis
F
F
F
F
F
Figure 3. Amplifier Chassis Cover
four nuts (C) that secure the bottom cover
to the chassis.
13.3 Using a strain relief tool, remove the
two strain reliefs (D) that secure the two
output wires. Lift the bottom cover off.
14. Bottom Panel Replacement
14.1 Feed the wires through the holes in
the bottom panel. Replace the eight screws
(B) and the four nuts (C) that secure the
bottom cover to the chassis.
14.2 Using a strain relief tool, replace the
two strain reliefs (D) that secure the two
output wires.
A
B
C
A
B
E
E
F
F
6
A
B
D
B
A
F
F
