247Security mDVR600 Series Manuel rapide - Page 3
Parcourez en ligne ou téléchargez le pdf Manuel rapide pour {nom_de_la_catégorie} 247Security mDVR600 Series. 247Security mDVR600 Series 14 pages.

1. DVR AND CAMERA PLACEMENT
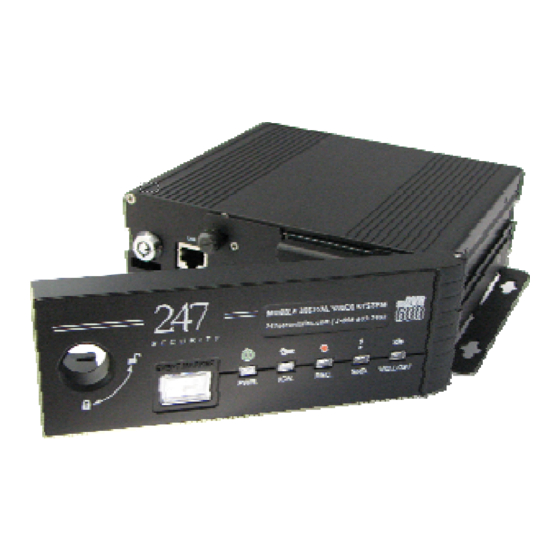
DVR
The first step is to determine the most appropriate location for the DVR and cameras. Mounting locations will vary
depending on the bus style, body manufacturer and bus year. Mounting orientation can be horizontal, vertical, or at
angles for spatial consideration. Mount the DVR through the affixed mounting base and ensure there is sufficient
space in front and around the DVR for easy removal of the hard drive—approximately 7 inches, to open the door.
Recommended installation locations include: inside the front bulkhead, behind the driver's mirror, or on top of or
under the dashboard.
CAMERAS
When mounting the front camera, ensure the camera is centered on the ceiling of the bus, nearest to the front
bulkhead—or nearest to the ceiling if mounted on the bulkhead—as is convenient to avoid being a headroom hazard
to occupants. Avoid installing cameras to sections of the ceiling that are exposed to, or are leaking, water.
2. CABLES
All cables for the installation and maintenance of your DVR system are included and consist of the following:
Cables for Installation
Camera Cable
GPS Antenna
Event Marker
Power Cable
Digital I/O Cable
(602W ONLY)
(One per Camera)
Auxiliary Equipment for Service
USB Memory Stick
Crossover Ethernet Cable
USB 2.0 A-to-MiniB Cable
Camera-to-RCA Adapter
(Optional)
2
247Security Inc. | 4400 North Point Parkway, Suite # 158, Alpharetta, GA 30022, USA | 1-866-693-7492 | www.247securityinc.com
