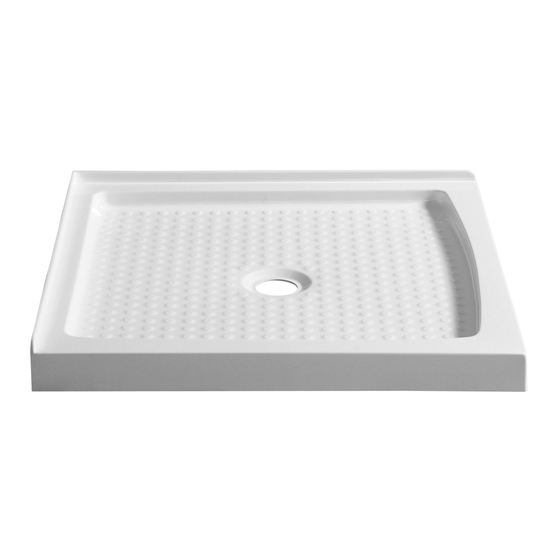
Anzzi SB-AZ009WC Manuel d'installation et d'utilisation - Page 12
Parcourez en ligne ou téléchargez le pdf Manuel d'installation et d'utilisation pour {nom_de_la_catégorie} Anzzi SB-AZ009WC. Anzzi SB-AZ009WC 14 pages. Shower base
Également pour Anzzi SB-AZ009WC : Manuel d'installation et d'entretien (8 pages)

STEP 6
It is recommended not to stand in base
●
while securing to wall. Set base in corner
and press it into mortar.
Secure flanges to all studs with #8(1-1/2")
screws through previously drilled holes.
(Fig 6)
IMPORTANT: Gaps between flanges
and studs must be less than 1/8".
Insert shims to fill gaps if needed.
STEP 7
Allow the mortar to completely harden before applying weight to the bottom of the shower
●
tray.
Install the Drywall above the tile flanges and secure it to the studs.
●
Put the tiles (or other finishing wall material) over the drywall leaving 1/8" gap between the
●
bottom of the tile and the splash rim of the shower tray. Use caulk to fill that gap. (Fig 7)
Caulk
1
3
4
1/8"
gap
Base
Side View
Fig. 7
Fig. 6
2
Waterproof Drywall to the
top of the tile flange
Stud
Drywall
e
Finished wall overlaps the
dry wall and tile flange
Shim
Shim
10
