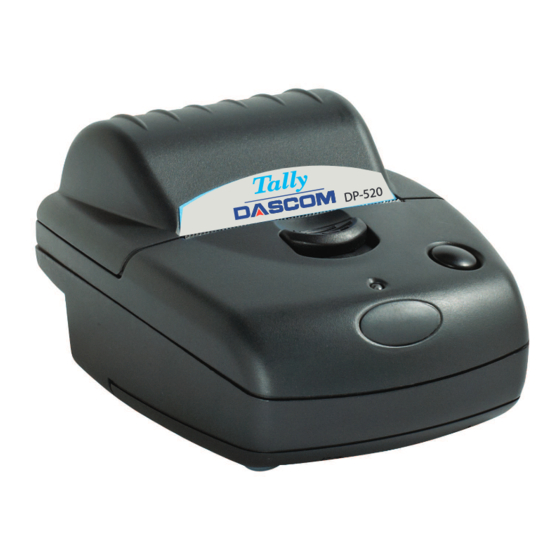
Dascom DP-520 Manuel de l'utilisateur - Page 11
Parcourez en ligne ou téléchargez le pdf Manuel de l'utilisateur pour {nom_de_la_catégorie} Dascom DP-520. Dascom DP-520 12 pages. Wired printer
Également pour Dascom DP-520 : Manuel de l'opérateur (19 pages), Instructions d'installation rapide (2 pages), Instructions d'installation rapide (2 pages)

You may find that you can connect the printer to your Personal Computer (PC), and everything works
perfectly the first time. However, there are many variables, and the following guide may help if you find
you need some assistance. These are only suggestions, and may not work with all PC's.
CONNECTING TO A PC – A CHECKLIST
First, MAKE SURE THE PRINTER IS OPERATIONAL
Make sure that the power supply is connected.
When the printer is awake, load paper and then press the feed button to check that paper feeds. Press
the paper feed button again twice in quick succession (like double-clicking a PC mouse) and the printer
should print a self-test message. This will show that the printer is operational, and also reports how the
printer's serial data interface is configured.
Next, CONNECT THE PRINTER TO THE PC
The back panel of a PC typically includes several D-type (keystone-shaped) connectors. One of these is
usually:
DB-9 Plug (male):
You can use any available serial port for the printer. COM1: is assumed in what follows, as most likely to
be available.
You will need a suitable cable. Use either a standard cable from Dascom (see 'Combined Data/Charger
Adaptor Cable'), or make up your own using the information in the same section.
Now you will need to SET UP YOUR COMPUTER'S SERIAL PORT to match the printer (it is also
possible to change the printer's settings, but not until you have established communication with the
computer).
Your proposed application program may have a way of doing this, or you can get to the DOS prompt [e.g.
C:\>] and type the following command line (assuming you have connected the printer to COM1:):
MODE COM1:9600,N,8,2 [RETURN]
This will set up the port (COM1:) to 9600 baud, No parity, 8 data bits, and 2 stop bits which is the default
setting for the printer.
Now, SEND SOME DATA TO THE PRINTER from your computer. An easy way to do this from the
DOS prompt is to type:
DIR >COM1: [RETURN]
This should send a directory listing to the printer. The lines will probably overflow, but it will at least show
that the communication between the computer and the printer is working.
Alternatively, in Windows, use the TERMINAL program to send some text to the printer.
™
WINDOWS
PRINTER DRIVERS
A Windows driver specifically written for the printer is available and can be downloaded from
www.dascom.com. It may be necessary to adjust some settings in your Application to produce the
desired result.
GETTING STARTED
COM1: Serial port for mouse, modem, serial printer, etc
9
