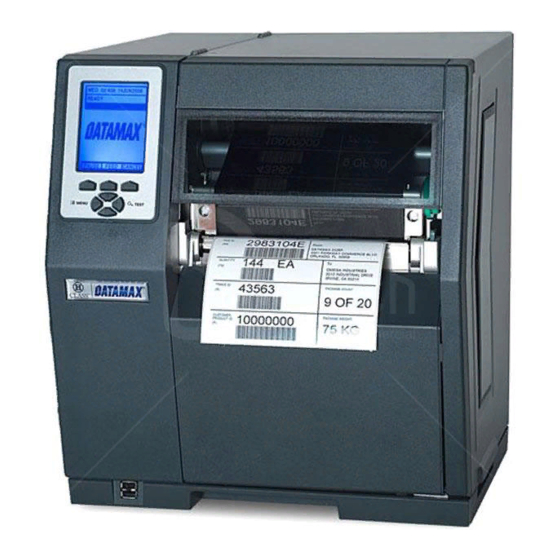
Datamax H-Class Manuel - Page 12
Parcourez en ligne ou téléchargez le pdf Manuel pour {nom_de_la_catégorie} Datamax H-Class. Datamax H-Class 14 pages. Cutter option
Également pour Datamax H-Class : Manuel (8 pages), Manuel de démarrage rapide (12 pages), Manuel (10 pages), Manuel (12 pages)

D) Place the Cover Plate (Item 2) onto
the Card Cage, as shown, then
install and tighten the two Screws
(Item 3) to secure the plate.
Step 3: Interfacing
Interface the card according to your application requirements (see the drawing below for
connector pin-outs, refer to Step 1 for signal details) as follows:
A) For GPIO functions connect a GPI/O interface cable to the GPI/O A (J1) and / or GPI/O
B (J2) ports.
B) For RS232 communications connect a serial interface cable to COM C (J4) and / or COM
D (J3); for dedicated devices, connect the cabling from that device to COM C (J4).
Note: If using both the RFID and Linear Scanner, see Configuring Hardware
Settings, above.
C) Connect the AC power cord to the printer and then turn the power switch ON.
5
15
10
4
14
9
3
J2
13
8
2
12
7
1
11
6
5
9
4
8
3
J4
7
2
6
1
10
8
15
7
14
6
13
5
J1
12
4
11
3
10
2
9
1
1
J3
8
Card Cage
Cover Plate
Screws
