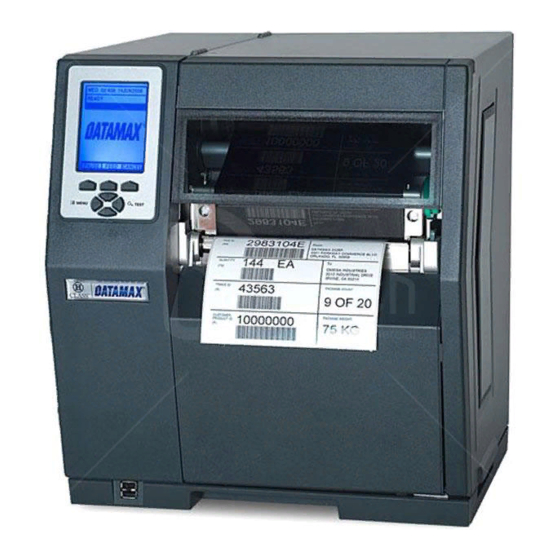
Datamax H-Class Manuel - Page 13
Parcourez en ligne ou téléchargez le pdf Manuel pour {nom_de_la_catégorie} Datamax H-Class. Datamax H-Class 14 pages. Cutter option
Également pour Datamax H-Class : Manuel (8 pages), Manuel de démarrage rapide (12 pages), Manuel (10 pages), Manuel (12 pages)

Step 4: Configuring the Software Settings
Configure the printer's m
A) Using the Control Panel, enter the ADVANCED MENU (see the Operator's Manual for
menu navigation details):
If using the GPIO A (J1) port, configure the settings to meet the requirements of
•
your system using the PRINTER OPTIONS GPIO PORT APPLICATOR
menu selection;
If using the GPIO B (J2) port, refer to your MCL documentation;
•
If using the COM C (J4) port for serial communications, configure the it to meet the
•
requirements of your host system's serial port settings using the
COMMUNICATIONS SERIAL PORT C menu selection; or,
If using the COM C (J4) port for a dedicated device, enable that device using the
PRINTER OPTIONS menu selection; and,
If using the COM D (J3) port for serial communications, configure the port to meet
•
the requirements of your host system's serial port settings using the
COMMUNICATIONS SERIAL PORT D menu selection.
B) After entering the desired settings exit the menu system and save your changes. The
printer is now ready to operate using the GPIO option.
Verifying Setup and Operation
Verification of the settings and active monitoring is provided:
Indicators – View incoming (IN) and outgoing (OUT)
signal activity via the card bracket. Sampled every
millisecond, these LED indicators change color as incoming
or outgoing GPIO signals change state.
for the option's operation.
enu settings
11
Signal In
Signal Out
