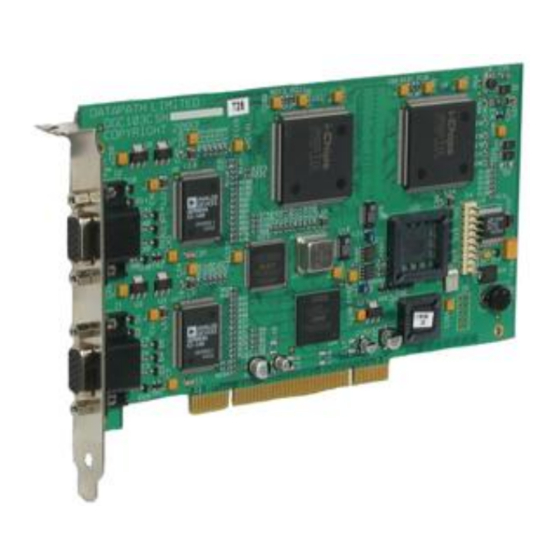
Datapath VisionRGB-PRO Manuel de l'utilisateur - Page 11
Parcourez en ligne ou téléchargez le pdf Manuel de l'utilisateur pour {nom_de_la_catégorie} Datapath VisionRGB-PRO. Datapath VisionRGB-PRO 19 pages.

Installing the VisionRGB-PRO
You are likely to need a flat blade and a Phillips head screwdriver for the installation
of the VisionRGB-PRO card; it would be useful to have these to hand before you
begin.
Installing the VisionRGB-PRO is a simple process, follow the steps below to be up
and running in a few minutes:
Power down the PC (including peripherals), switch off at the mains and
disconnect all the cables connected to the computer, noting the positions for
accurate reconnection. Remove the PC cover.
Locate a vacant PCI slot on the motherboard and remove the backing plate
(retain all screws).
Remove the VisionRGB-PRO card from its packaging and secure it firmly into
the empty PCI slot. Extreme care should be taken when sliding the card into
the PCI slot.
Screw the VisionRGB-PRO bracket to the back panel of the PC and replace
the cover.
Connect the cable(s) distributing the RGB signals to the connectors on the
VisionRGB-PRO card located on the back panel. Re-connect all cables to the
PC.
VisionRGB-PRO Connections
The VisionRGB-PRO2 card has two VGA D-type connectors for two separate,
simultaneous inputs. The top connector is referred to as Channel 1, the bottom
connector, Channel 2. These connections have identical pin outs as illustrated on
the following page.
The VisionRGB-PRO1 also has two VGA D connectors however only the top
connector (Channel 1) can be used for RGB capture.
10
26 Oct 09
