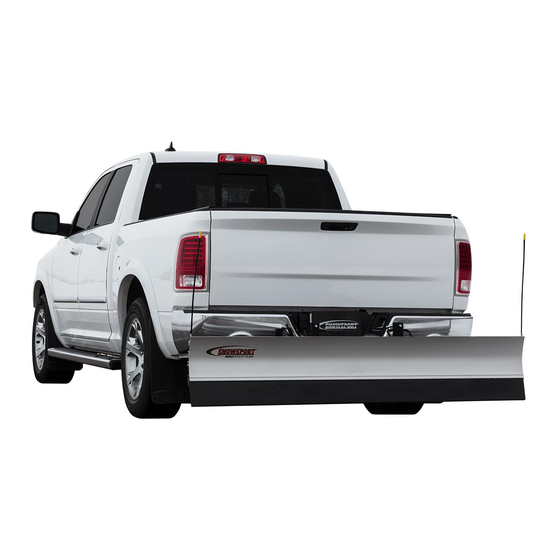
AGRI-COVER SNOWSPORT 180 Manuel d'instructions d'installation - Page 6
Parcourez en ligne ou téléchargez le pdf Manuel d'instructions d'installation pour {nom_de_la_catégorie} AGRI-COVER SNOWSPORT 180. AGRI-COVER SNOWSPORT 180 12 pages. Utility plow

1. INSTALLING PUSH FRAME
NOTE: We recommend performing this
step with two people. One person holds the
push frame to the interceptor while another
performs the installation.
A. Insert interceptor into receiver with push
frame mounting bracket facing up. Secure
interceptor with receiver pin.
B. Hold push frame against interceptor.
Select 2 bolt hole pattern that positions push
frame 6-8" above grade.
NOTE: In some cases, clearance under receiver may be less than 6". If so, plow will still
operate properly, but ground clearance will be limited. Use care on uneven surfaces.
NOTE: If lowest bolt pattern is too high, remove interceptor and reinsert with push frame
mounting bracket facing down.
Bolt push frame to intercepter with (2) 1/2" x
4" bolts, fl at washers and lock nuts.
C. Verify 2 bolt hole pattern provides correct
push frame clearance, 6-8" above grade
then tighten bolts.
D. Torque 2 nuts to 90 ft-lbs.
E. Push set collar tight against receiver, hold
and tighten set screw with 3/16" hex wrench.
(2) Lock nuts with
(2) washers
Push frame
(2) 1/2" x 4"
(2) 1/2" x 4"
Bolts with (2) fl at
Bolts with (2) fl at
washers
Mount push
Mount push
frame between
frame between
6-8" above grade
Push frame
Tether
1/2" X 4" Bolt with
fl at washer
Interceptor
Tighten set collar with
3/16" hex wrench
6 6
Quick pin
Lock nut with
fl at washer
Interceptor
Set collar
Hair pin
Receiver pin
Receiver
