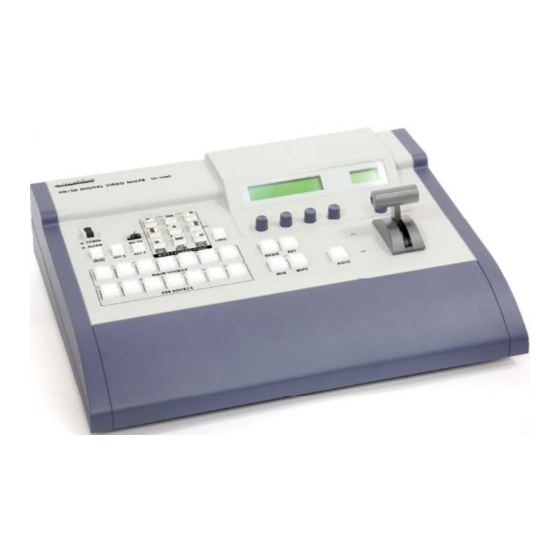
Datavideo SE-1000 Manuel complémentaire - Page 5
Parcourez en ligne ou téléchargez le pdf Manuel complémentaire pour {nom_de_la_catégorie} Datavideo SE-1000. Datavideo SE-1000 7 pages. Datavideo se-1000 switcher: supplementary guide
Également pour Datavideo SE-1000 : Manuel de référence (4 pages)

4 inputs with Program and Preview outputs
1
2
3
4
Input Cameras
1) Connect your cables as shown in the diagram above.
2) Confi gure the switcher for your input signal type.
Press FUNC and SETUP and select the F1setting
SETUP
FUNC
"FORMT 4/15". Select "480/59i", then press F4
PGM
to confi rm your
selection.
3) The next step will require us to confi gure the internal converters to
output the correct signal type.
4) Go to the "Format/Standard Converter" above the T-bar. Turn the
dial to "CH1" and press the dial to confi gure Channel #1. Note: We
are confi guring the internal converter output signal type. It will
autodetect the input signal type.
5) "F1" under CH1 sets the output to SD or HD
CH1
FN01
by pressing the selector and turning it to cycle
SD
the setting. To deselect the function, press the
knob and turn the dial to "F2".
6) "F2" under CH1 sets the signal output type
FORMAT/STANDARD
depending on whether "F1" is set to HD or SD.
CONVERTER
To make changes to the signal output format,
press the knob and select "480iCVBS". This setting
is required if you are using TLM-433 monitors.
SE-1000 Applications
IN
C
B
OUT
IN
C
B
OUT
1
3
2
4
3
1
2
4
3
1
2
4
In
Out
In
Out
In
Out
In
Out
In
Preview Signal
FORMT
| MODE
|
4/15
| 480/59i
| EXEC
F1
F2
F3
IN
IN
A
OUT
OUT
IN
IN
A
OUT
OUT
5
6
Analog Output
PGM
5
6
SDI Output
5
Out
PGM1
PGM2
PVW AUX1 AUX1
Program Signal
7) The fi nal step requires us to confi gure the button
crosspoints. Press FUNC and XPT to enter the
crosspoint setup. Turn the F1 dial to "XPTAS 2/3"
and set the crosspoints as follows:
XPT 1 = IN1
XPT 2 = IN2
XPT 3 = IN3
XPT 4 = IN4
XPT 5 = CBAR
F4
XPT 6 = BLK
XPT 7 = FMEM
8) In the crosspoint setup above, Crosspoint 7 has been set to "FMEM",
which is the switcher's frame store. To make the still frame store live,
simply punch in Crosspoint #7 or transition to it using the T-bar or
"take" button.
MEM
FUNC
CLN
process must be repeated every
time you want to create a still from
your live source. To display the still
imgae, simply cut or transition to
Crosspoint #7.
PVW
AUX
Ethernet
Cable
XPTAS
| XPT
2/3
|
F1
9) To save an image in the frame store from one
of your live sources, press FUNC and MEM. When
the image you want to save appears on your
monitor, press the F4 knob to execute. Press FUNC
to exit. This
FMEM
| SIG
3/3
| AUX
F1
YUV Breakout
Cable
Output Recorder
Input Computer
SETUP
FUNC
PGM
| SIG
|
1
|
IN1
|
F2
F3
F4
| MEM
| STOR
| FMEM
| EXEC
F2
F3
F4
