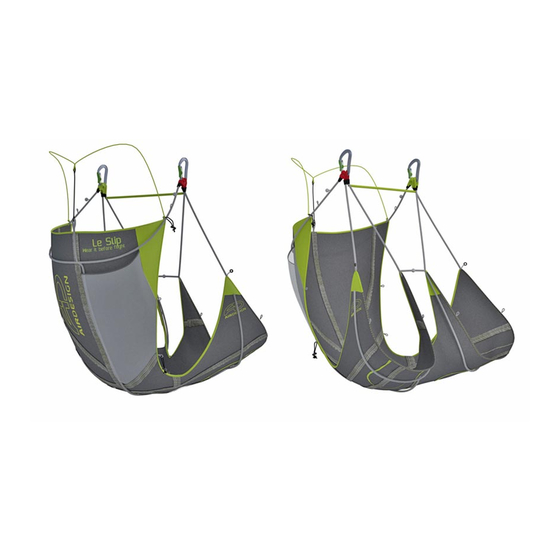
AirDesign Le Slip Manuel - Page 3
Parcourez en ligne ou téléchargez le pdf Manuel pour {nom_de_la_catégorie} AirDesign Le Slip. AirDesign Le Slip 5 pages.

To put your slip on, two options are available :
1.
If the harness is opened, put the shoulder straps
and lift up the legs and waist strap between your
legs. Close all Red or Green loops together using
the carabiner. Insure the colors are not mixed
together. Ensure 3 loops are closing on each
carabiner.
2.
If the harness is already closed, stepping through
the legs and waist straps might be more
convenient. One at a time, step through the legs
and waist straps before pulling the shoulder straps
into place. Make sure your legs go through the leg
straps correctly and not through the side of the
harness.
It is not recommended to use the step through method if you are using crampons or ski boots as you risk to severely
damage the harness. Instead use method 1 or remove the crampons before putting the harness on.
Warning! Ensure that the carabiner is going through the three
Red and Green loops on both sides before taking off.
Warning! Ensure that carabiners are locked and not twisted
before take off.
A.
Your telescopic or foldable hiking poles can be stored
on the side using the loops and tankas during the
flight.
B.
The back pocket can be used to store your light
carrying equipment during flight or ground handling,
or safety equipment permanently left there.
C.
You seating position can be adjusted using the loop and ball on both side of the
harness (Pos 7 previous page).
Warning! Insure setting is symmetrical before take-off.
D.
The legs can move freely by detaching the loop and ball
between the legs (Pos 6 previous page)
Warning! This impacts harness stabiliity.
Warning! Loop and ball shall be closed when using AD Front Rescue
Container.
AIRDESIGN – Le Slip Manual – V1.3 – August 7th 2020
USING YOUR HARNESS
Page 3/5
