Celestron 47007 Instructions d'utilisation - Page 2
Parcourez en ligne ou téléchargez le pdf Instructions d'utilisation pour {nom_de_la_catégorie} Celestron 47007. Celestron 47007 15 pages. Large format lcd personal weather station with wireless remote sensor
Également pour Celestron 47007 : Manuel de l'utilisateur (3 pages)

If the battery power becomes low, a "low battery icon" will appear on the LCD display and change
batteries to ensure a strong signal is being sent to the Receiver.
Settings and Operation of the Receiver
is for setting normal time to a ± 12 hour difference.
•
Temperature Alert – you can set a range of indoor and outdoor temperature alerts (high and
low). In normal mode press the "ALERT" button once and it will display an icon that the alert is
enabled (to the left of the indoor and outdoor temperature) and press again and the icon will be
removed to indicate the alert is disabled. To set the
maximum and minimum temperatures for the alert, hold
the "ALERT" button down for a few seconds and a icon
(top part) will flash to tell you to set the maximum
temperature alert – use the "UP" and "DOWN" arrow
buttons to choose your alert indoor temperature and push
the "ALERT" button to set. Push the button again and
lower icon will flash and to set the minimum indoor
temperature alert. Do the same setup again but when the top icon is flashing with no temperature
show push the UP arrow button to make the settings for the outdoor temperature. When the
temperature reaches the alarm stage, the icons will flash and make a sound.
•
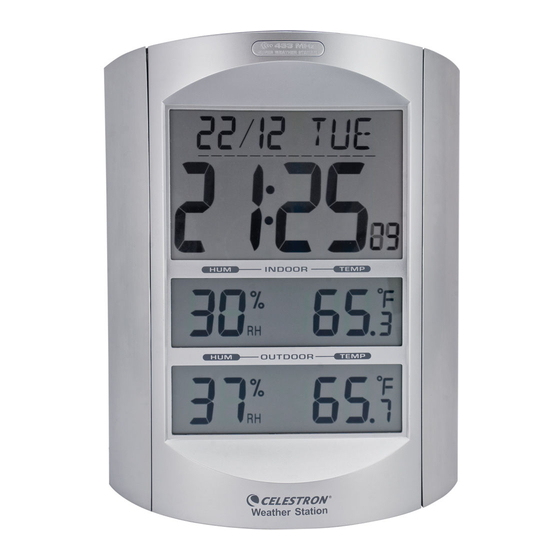
Indoor & Outdoor Temperature & Humidity
– the indoor temperature and humidity as well as
the outdoor temperature and humidity is shown
on the LCD display.
•
Data displayed in "C" or "F" – push the
"DOWN" arrow button (when in a normal
mode) to change from "C" (Centigrade) or "F"
(Fahrenheit) for the display you desire.
•
Clock & Calendar – Press the "MODE" button
and hold down for a couple of seconds to enter
the setup mode. Use the "+" or "-" buttons to
make changes. Press the "MODE" after each
setting is correct. The settings in sequence will
be – hour / minute / seconds / year / month / day
/ time zone / weekday language / exit. The
weekday language to choose is available
English, German, French, Spanish, Italian,
Dutch, and Danish.
•
The clock format can be 12 or 24 hour mode –
use the "+" button (in normal mode) to change
the format that you wish to use. The time zone
2
