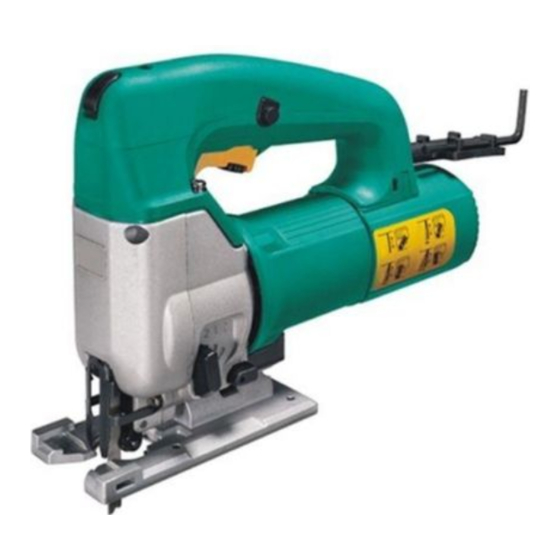
DCA M1Q-FF-85 Manuel d'utilisation - Page 5
Parcourez en ligne ou téléchargez le pdf Manuel d'utilisation pour {nom_de_la_catégorie} DCA M1Q-FF-85. DCA M1Q-FF-85 10 pages.

INSTRUCTIONS FOR OPERATION
Safety Protector
CAUTION:
Always keep the safety protector in
place during operation for your
safety.
The safety protector attached to the
housing prevents unintentional contact
with the saw blade while working and
should not be removed. (Fig. 2)
Switch Action
CAUTION:
Before plugging in the tool, always check to see that the trigger switch actuates
properly and returns to the "OFF" position when released.
Switch can be locked in the "ON" position for ease of operator comfort during
extended use. Apply caution when locking tool in the "On" position and maintain
firm grasp on tool.
To start the tool, simply press the
switch trigger. Release the trigger to
stop.
For continuous operation, pull the
trigger and then push in the lock
button. To stop the tool from the
locked position, pull the trigger fully
and then release it. (Fig. 3)
-7-
Speed Control
Speed can be infinitely adjusted between
500 and 3,100 strokes per minute by
turning the adjusting dial. Higher speed is
obtained when the dial is turned clockwise;
lower speed is obtained when it is turned
counterclockwise. (Fig. 4)
Installing or Removing the Saw Blade
CAUTION:
Always be sure that the tool is switched OFF and unplugged before installing or
removing the saw blade.
Wear protective gloves when replacing/removing the saw blade.
Always clean out all chips or foreign matter adhering to the blade and/or blade holder.
Failure to do so may cause insufficient tightening of the blade, resulting in a serious
personal injury.
Do not touch the blade or the workpiece immediately after operation; they may be
extremely hot and could burn your skin.
Always secure the blade firmly. Insufficient tightening of the blade may cause blade
breakage or serious personal injury.
To install the saw blade, firstly set the blade orbit selector lever to
level 3.
Then finish the installment as follows:
— Insert the blade into the stroke rod crosswise to the cutting
direction.
-8-
