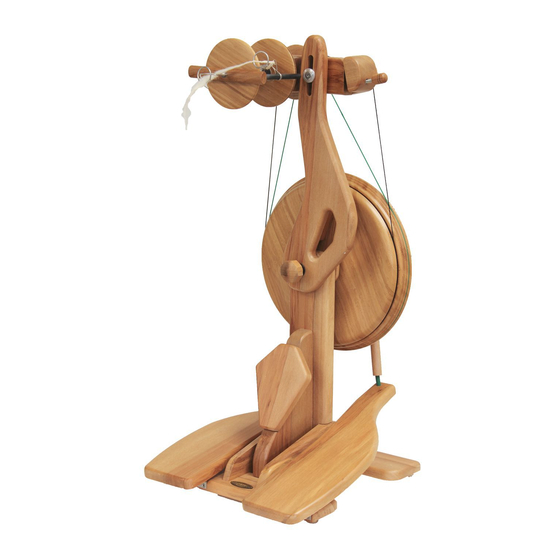
Majacraft Aura Manuel d'instructions - Page 10
Parcourez en ligne ou téléchargez le pdf Manuel d'instructions pour {nom_de_la_catégorie} Majacraft Aura. Majacraft Aura 16 pages.

EXTRA
If you are not certain of the connection arrangement, here is a full
description.Place the wheel directly in front of you so you are looking at
the crank assembly attached to the drive wheel. The rubber joiner that
is on the conrod/footman that is closest to you goes into the hole in the
pedal on your left. The joiner on the conrod that is furthest from you
goes into the hole in the pedal that is on your right.
10. Bobbin and Flyer
Required:
1 - Wooden Bobbin
1 - Aura flyer
If you have some petroleum jelly or vaseline, rub a small smear onto the flyer shaft. This has already been
done at the factory so is not essential. Now slide the bobbin on.
If you look at the Aura bobbin end that has the blackened tension
groove, you will notice two small holes near the flyer shaft hole. These
holes are to locate on the drive pins embedded in the Aura drive system
on the head. This end of the bobbin must go on the flyer shaft first and
the holes align with the pins in the drive system.
10b
10c
10
9f
10a
10d
majacraft
