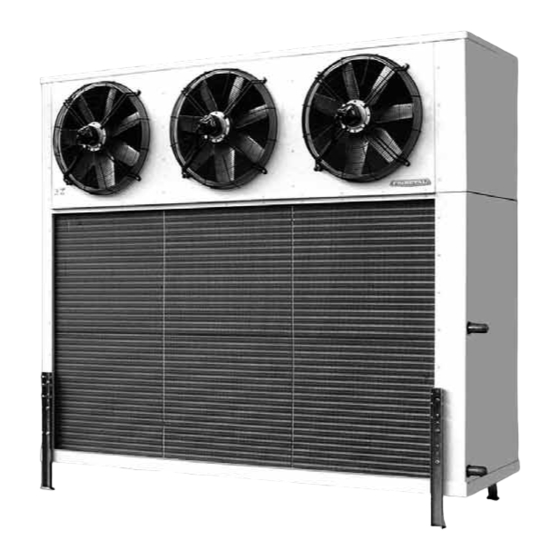
FRIMETAL MRB-1050 Manuel d'instruction - Page 9
Parcourez en ligne ou téléchargez le pdf Manuel d'instruction pour {nom_de_la_catégorie} FRIMETAL MRB-1050. FRIMETAL MRB-1050 16 pages.

Una vez realizada la conexión, dar corriente y comprobar que la direc-
ción del aire para cada ventilador es como en el dibujo. Si es errónea,
es porque el ventilador está girando al revés. Para cambiar el sentido
de giro, intercambiar entre sí dos de las líneas de corriente L1, L2 y L3
que llegan al ventilador equivocado.
Aunque las cajas de conexiones tienen protección IP-55, para asegu-
rar una total estanqueidad es conveniente sellar los prensaestopas con
masilla o silicona.
¡IMPORTANTE!
Los ventiladores de ø 500 y 630 incorporan un termocontacto para
protección térmica en el interior del bobinado con salida de cable al
exterior (las bornas TK del diagrama de conexiones). Cada ventilador
debe alimentarse de corriente independientemente. Si un ventilador se
calienta por mal funcionamiento o por otra causa, al sobrepasar la
máxima temperatura permitida se abre el termocontacto y desde el
cuadro eléctrico se debe cortar la corriente a ese ventilador y detener-
lo, mientras que los demás pueden seguir funcionando.
¡Solamente mediante la utilización del termocontacto se puede garan-
tizar la protección total del bobinado del motor! Si el instalador no los
conecta, la garantía de los ventiladores queda automáticamente anu-
lada, aunque se hayan utilizado otros sistemas para protección del
motor como puede ser el control del consumo.
SUSTITUCIÓN DE VENTILADORES
!
¡PRECAUCIÓN!
Antes de empezar las operaciones de sustitución de un ventilador, ase-
gurarse de que la refrigeración está cortada y de que la corriente eléc-
trica de alimentación a los ventiladores está desconectada mediante un
interruptor de seguridad que no se pueda volver a conectar acciden-
talmente.
¡IMPORTANTE!
Los ventiladores disponen de un agujero, señalado por una flecha,
para la evacuación del agua. Dicho agujero debe quedar siempre situa-
do en la parte de abajo para que pueda realizar su función.
Evaporadores con ventiladores Ø 500 y 630
Los pasos para sustituir un ventilador son los siguientes:
1 Aflojar los tornillos de la caja del ventilador situada en el centro de
la rejilla y quitar la tapa.
2 Aflojar los tornillos de la regleta y soltar los cables de la manguera
de salida.
Los cables de las mangueras están identificados por un número gra-
bado y al reemplazar el ventilador hay que colocar de nuevo cada
cable en su posición según el diagrama adjunto.
Si por el paso del tiempo o por las condiciones de trabajo dicha nume-
ración de los cables estuviera borrosa o desaparecida, antes de sol-
tarlos de la regleta es necesario identificarlos de alguna manera que
impida el error al volverlos a colocar posteriormente.
Once the connection is made, switch on the electric current and check that
the air direction of each fan motor is the same as the one shown in the atta-
ched drawing. If it is not so, it means the fan motor is turning the wrong
way. To change into the right turning direction, interchange two phases of
the lines L1, L2 and L3 that arrive to the misconnected fan motor.
Even though the junction boxes have protection IP-55, it is advisable
to seal the packing glands with putty or silicone to ensure a total water-
proofing.
IMPORTANT!
The fan motors of 500 and 630mm have a thermocontact for thermal
protection inside the motor coil with external wires (see terminal strips
TK in the connection drawing). Every fan motor must have an indepen-
dent electric supply. If a fan motor heats up due to malfunction or other
reason, once the maximum allowed temperature is reached, the ther-
mocontact opens and the current line to this fan motor must be cut off
from the control panel and the fan motor stopped, while the others can
continue running.
Only by using the thermocontacts it is possible to guarantee a total
protection of the motor coil! If the installer neglects their use and refu-
ses to connect them, the guarantee of the fan motors will be automa-
tically voided even if other methods have been used for protecting the
fan motors as in case of the control by consumption.
REPLACEMENT OF FAN MOTORS
!
WARNING!
Before starting operations to replace a fan motor, make sure that the
refrigeration is stopped and that the current line to the fan motors dis-
connected by means of a security switch so as to prevent an acciden-
tal start.
IMPORTANT!
The fan motors come with a hole, indicated by an arrow, for water drai-
ning, which must always be situated on the lower part of the motor to
allow its use.
Units with Ø 500 and 630 fan motors
The steps to replace a fan motor are the following:
1 Loosen the screws of the junction box placed in the centre of the
grille and remove the lid
2 Loosen the screws on the terminal strip and release the wires of the
outlet hose.
A number engraved on them identifies the wires on the hose. While
replacing the fan motor, it is necessary to replace each numbered wire
in its position according to the attached diagram.
With the passing time or working conditions the number on the wires
might get blurred or go missing, if this happens, it is necessary to iden-
tify them in any way before loosen them from the terminal strip so as
to avoid mistakes when they are put back again afterwards.
9
