Gardena 1825 Manuel d'utilisation - Page 3
Parcourez en ligne ou téléchargez le pdf Manuel d'utilisation pour {nom_de_la_catégorie} Gardena 1825. Gardena 1825 10 pages. Water timer electronic
Également pour Gardena 1825 : Manuel d'utilisation (20 pages), Manuel d'utilisation (10 pages), Manuel d'utilisation (20 pages)

G
Battery :
For functional safety reasons, only use a 9 V alkali-manga-
nese (alkaline) battery type IEC 6LR61.
The Water Timer will only run for approx. 1 year if the new
alkaline battery has a nominal voltage of at least 9 V.
v Check the battery before you buy it.
Putting your Water Timer
To prevent water entering the battery compartment, the Water
into operation :
Timer must only be mounted in a perpendicular position with
the sleeve nut pointing upwards.
After you have selected the watering program, the Water Timer
opens at the selected starting time. To avoid getting wet when
operating the Water Timer, connect the hose or turn off the tap
before selecting the program. Alternatively, the control unit can
be removed for programming.
Water flow :
The max. temperature for the water is 40 °C.
v Only use clear fresh water.
4
3. Function
Control knob and OK button :
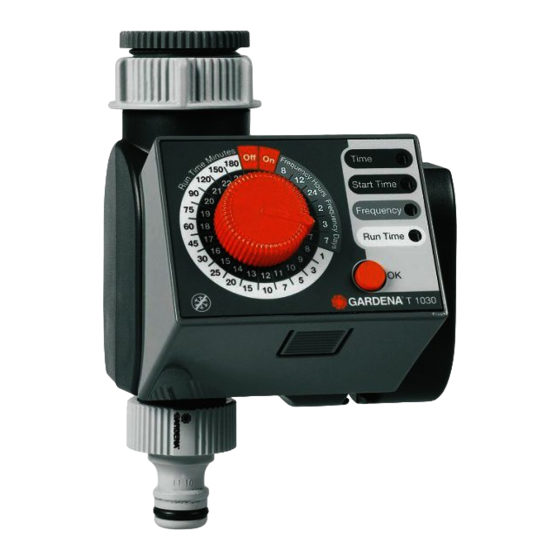
The GARDENA Water Timer electronic allows you to set different
watering cycles for different watering times independent of whether
!
"
you are using a sprinkler, a sprinkler system installation or drip-
head watering system to irrigate your garden.
Your Water Timer electronic will water your garden completely
automatically according to the program you choose. You can set
the timer to water your garden early in the morning or late at
§
night when water evaporates the least, or while you are away on
holiday.
You simply program the time (to the nearest hour), watering start-
ing time / duration and cycle by turning the pointer
!
Control knob
trol knob
"
Control knob pointer
The Water Timer opens at the starting time you have selected.
§
OK button
Battery status display :
The 3 LEDs Time, Start Time and
Frequency flash to indicate that the
battery is flat.
v Replace the battery
(see 4. Operation "Inserting the
Battery").
"
!
to the correct time and pressing the OK button
G
of the con-
§
.
5
