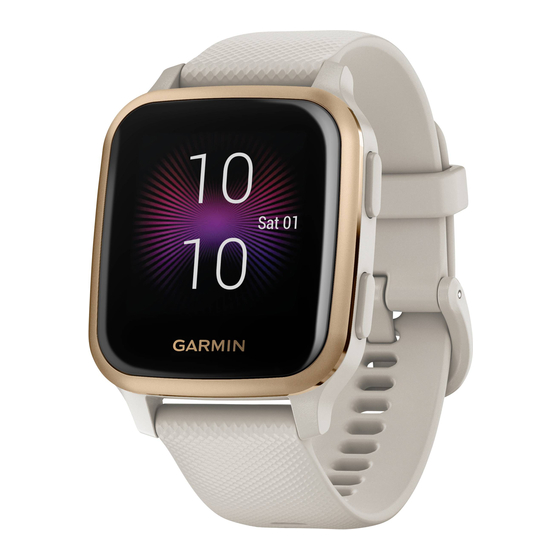
Garmin VENU SQ MUSIC Manuel du propriétaire - Page 21
Parcourez en ligne ou téléchargez le pdf Manuel du propriétaire pour {nom_de_la_catégorie} Garmin VENU SQ MUSIC. Garmin VENU SQ MUSIC 47 pages.
Également pour Garmin VENU SQ MUSIC : Manuel de démarrage rapide (24 pages)

Auto Rest: Enables the device to automatically detect when you
are resting during a pool swim and create a rest interval.
Auto Scroll: Enables you to move through all of the activity data
screens automatically while the timer is running
Scroll, page
18).
Auto Set: Enables the device to start and stop exercise sets
automatically during a strength training activity.
Club Prompt: Displays a prompt that enables you to enter
which golf club you used after each detected shot.
Data Screens: Enables you to customize data screens and add
new data screens for the activity
Screens, page
17).
Driver Distance: Sets the average distance the golf ball travels
on your drive.
Edit Weight: Allows you to add the weight used for an exercise
set during a strength training or cardio activity.
GPS: Sets the mode for the GPS antenna
Setting, page
18).
Pool Size: Sets the pool length for pool swimming.
Scoring: Enables or disables scorekeeping automatically when
you start a round of golf. The Always Ask option prompts you
when you begin a round.
Scoring Method: Sets the scoring method to stroke play or
Stableford scoring while playing golf.
Stat Tracking: Enables statistics tracking while playing golf.
Status: Enables or disables scorekeeping automatically when
you start a round of golf. The Always Ask option prompts you
when you begin a round.
Tournament Mode: Disables features that are not allowed
during sanctioned tournaments.
Vibration Alerts: Enables alerts that notify you to inhale or
exhale during a breathwork activity.
Customizing the Data Screens
You can customize data screens based on your training goals or
optional accessories. For example, you can customize one of
the data screens to display your lap pace or heart rate zone.
1
Hold
.
2
Select
> Activities & Apps.
3
Select an activity.
4
Select the activity settings.
5
Select Data Screens.
6
Select a data screen to customize.
7
Select one or more options:
NOTE: Not all options are available for all activities.
• To adjust the style and number of data fields on each data
screen, select Layout.
• To customize the fields on a data screen, select the
screen, and select Edit Data Fields.
• To show or hide a data screen, select the toggle switch
next to the screen.
• To show or hide the heart rate zone gauge screen, select
HR Zone Gauge.
Alerts
You can set alerts for each activity, which can help you to train
toward specific goals. Some alerts are available only for specific
activities. Some alerts require optional accessories, such as a
heart rate monitor or cadence sensor. There are three types of
alerts: event alerts, range alerts, and recurring alerts.
Event alert: An event alert notifies you once. The event is a
specific value. For example, you can set the device to alert
you when you burn a specified number of calories.
Customizing Your Device
(Using Auto
(Customizing the Data
(Changing the GPS
Range alert: A range alert notifies you each time the device is
above or below a specified range of values. For example, you
can set the device to alert you when your heart rate is below
60 beats per minute (bpm) and over 210 bpm.
Recurring alert: A recurring alert notifies you each time the
device records a specified value or interval. For example, you
can set the device to alert you every 30 minutes.
Alert Name Alert Type
Cadence
Range
Calories
Event,
recurring
Custom
Event,
recurring
Distance
Recurring
Heart Rate Range
Pace
Range
Run/Walk
Recurring
Speed
Range
Stroke Rate Range
Time
Event,
recurring
Setting an Alert
1
Hold
.
2
Select
> Activities & Apps.
3
Select an activity.
NOTE: This feature is not available for all activities.
4
Select the activity settings.
5
Select Alerts.
6
Select an option:
• Select Add New to add a new alert for the activity.
• Select the alert name to edit an existing alert.
7
If necessary, select the type of alert.
8
Select a zone, enter the minimum and maximum values, or
enter a custom value for the alert.
9
If necessary, turn on the alert.
For event and recurring alerts, a message appears each time
you reach the alert value. For range alerts, a message appears
each time you exceed or drop below the specified range
(minimum and maximum values).
Auto Lap
Marking Laps Using the Auto Lap Feature
You can set your device to use the Auto Lap feature to mark a
lap at a specific distance automatically. This feature is helpful for
comparing your performance over different parts of an activity
(for example, every 1 mile or 5 kilometers).
1
Hold
.
2
Select
> Activities & Apps.
3
Select an activity.
NOTE: This feature is not available for all activities.
4
Select the activity settings.
5
Select an option:
• To turn the Auto Lap feature on or off, select the toggle
switch.
• To adjust the distance between laps, select Auto Lap.
Description
You can set minimum and maximum
cadence values.
You can set the number of calories.
You can select an existing message or
create a custom message and select an
alert type.
You can set a distance interval.
You can set minimum and maximum
heart rate values or select zone changes.
You can set minimum and maximum
pace values.
You can set timed walking breaks at
regular intervals.
You can set minimum and maximum
speed values.
You can set high or low strokes per
minute.
You can set a time interval.
17
