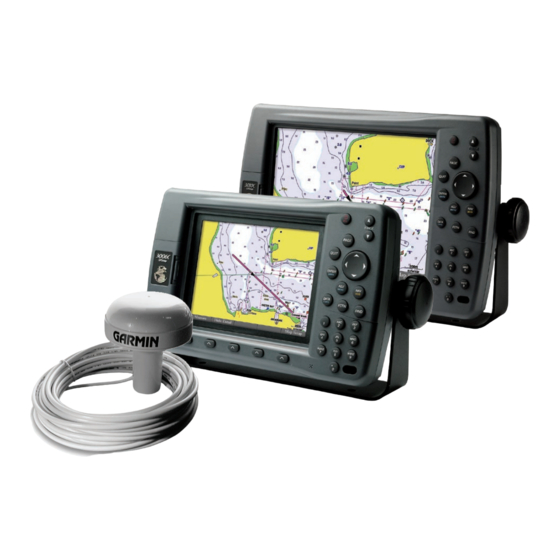
Garmin GPS 17 Series Manuel d'instructions d'installation - Page 8
Parcourez en ligne ou téléchargez le pdf Manuel d'instructions d'installation pour {nom_de_la_catégorie} Garmin GPS 17 Series. Garmin GPS 17 Series 16 pages. Technical specifications
Également pour Garmin GPS 17 Series : Manuel d'instructions d'installation (17 pages), Manuel d'instructions d'installation (19 pages), Spécifications techniques (37 pages)

I
I
NSTALLATION
NSTRUCTIONS
Wiring and Cables
The GPSMAP 2106/2110 comes with an 18-pin Power/Data cable. For some installations, it may be necessary to drill 1.25" (31.7 mm) holes to
route the connector end of the cables. Garmin rubber grommets are provided to cover the installation holes (see below). Wiring instructions are
found on the following pages. If you experience difficulty installing the unit, contact an installation professional.
The grommets may not be needed in some installations. The grommets do NOT create a waterproof seal. Apply a marine sealant after
installation to weatherproof around the grommet and cable. Additional grommets can be purchased from your Garmin dealer or direct from
Garmin. Be sure to test the system before installing the grommets.
Tools
• Drill
• 1.25" (31.7 mm) paddle drill bit or hole saw
• Pencil
• Utility knife
• Marine sealant (optional)
To install the cable grommet:
1. Mark the location where the Power/Data cable is to route through.
2. Using a 1.25" (31.7 mm) paddle drill bit or hole saw, drill the installation hole.
3. Refer to the diagram below for trimming instructions. Carefully trim the cable hole, as needed.
4. Route the cable to the unit.
5. Spread the grommet apart at the split, and place it around the cable (see below).
6. Firmly push the grommet into the installation hole until it is seated. Apply marine sealant, as needed, to weatherproof the cable.
6
Use this hole (no trim) for the
Power/Data, or GPS 17 cable
Split
GPSMAP 2106/2110 & GPS 17
