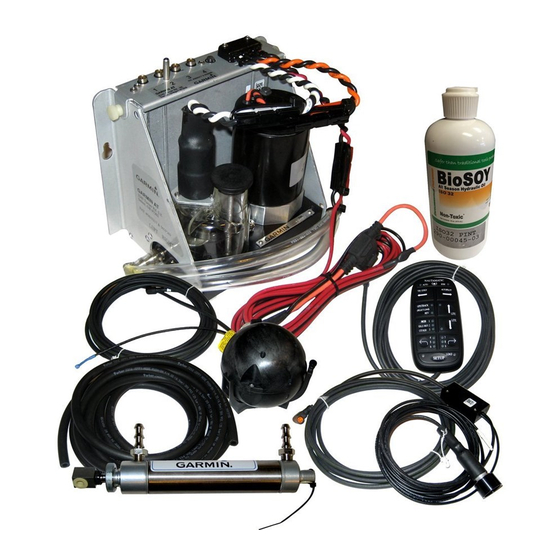
Garmin TR-1 Gold Manuel du propriétaire - Page 28
Parcourez en ligne ou téléchargez le pdf Manuel du propriétaire pour {nom_de_la_catégorie} Garmin TR-1 Gold. Garmin TR-1 Gold 38 pages. Throttle actuator
Également pour Garmin TR-1 Gold : Manuel d'utilisation de base (9 pages), Référence rapide (2 pages), Instructions de montage (7 pages), Instructions d'installation (4 pages), Référence rapide de l'ordinateur de poche du propriétaire (2 pages)

When you select special functions, by the methods described below, you are simply choosing which
function is to be executed by the pilot when you push one of the tree special function buttons.
The Idle/Resume button is programmable to provide either Idle/Resume or MOB or Zigzags (other).
The Bent Left Arrow button is programmable to provide either Steps or Circles or Remote Steer.
The Bent Right Arrow is used to program the pilot for waypoint Orbiting or clover leaf or search
steering in conjunction with your GPS.
To change the functions of these programmable buttons, follow the directions below.
1. Autopilot must be in Heading Hold or Standby Mode before selection process can start.
(AUTO LED solid on or STBY LED solid on. No other LED's on.)
2. Press and hold Setup Button. Three LED's next to the numbers 1 through 9 will illuminated,
indicating which (3) special functions are programmed to operate. For example, if LED 2, 4, and 7
illuminate, your system is programmed to do: 1) Idle Resume when the Idle/Resume button is
pressed. 2) Step turns to port when the Left Bent Arrow button is pressed. 3) Step Turns to
starboard when the Bent Right Arrow button is pressed. 4) Orbit a waypoint clockwise when the
Bent Right Arrow button is pressed and the system is tracking a GPS signal. 5) Orbit a waypoint
clunterclockwise when the Bent Left Arrow button is pressed and the system is tracking a GPS
signal.
3. Select the Special Function you want to use by pressing and releasing the Idle/Resume and Left
Bent Arrow button until the appropriate LED's are lit. (See the Table below for Special Function
Indicators.)
4. Release the Setup Button.
5. To make the selected Special Functions into start up defaults: Press and release the Setup
button and verify the setup LED is lit. Then press and hold the GPS (Select Load) button. Verify
that the Load LED is lit. Then press and release the Deckmount switch, then release the GPS (Select
Load button). (This Locks in your selections)
6. To illuminate the keypad on the remote for nighttime operation: Press and hold setup and press
the up arrow. Repeat to turn the back light off. The down arrow will toggle the brightness of the
orange LEDs between bright and dim when the setup button is held down.
Special Function Indicator LED Numbers
MOB
1
2
Idle/Resume
3
Other
Selecting Special Functions
4
Steps
5
Circles
6
Remote Steer
28
GPS Steering
(GPS connection required)
7
Orbit Wpt.
8
3 Leaf Clover
9
Search
