Avlite AV-70 Manuel - Page 10
Parcourez en ligne ou téléchargez le pdf Manuel pour {nom_de_la_catégorie} Avlite AV-70. Avlite AV-70 16 pages. Aviation light
Également pour Avlite AV-70 : Manuel de démarrage rapide (2 pages)

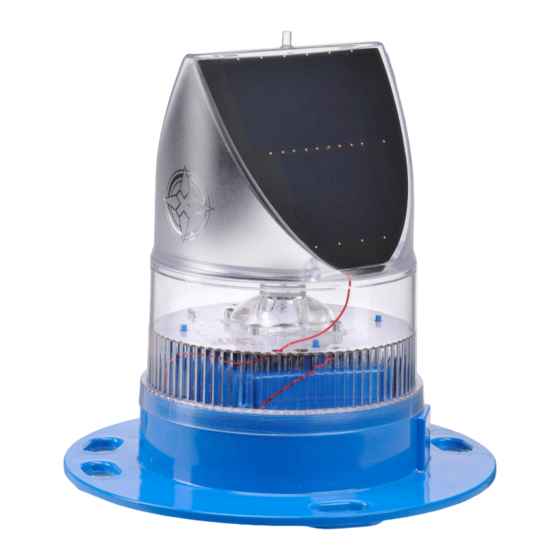
The AV70 light (Ref 1) is attached to the rubber tile (Ref 2) using bolts (Ref 3).
e. Insert bolts through the three centremost holes in the tile, entering from the bottom face (within the
triangular recess). It may be necessary to use a rubber mallet to insert the bolts.
f.
Fit the AV70 light over the bolts on the top face of the tile. (It is possible to align the lens ridge with
the sides of the tile, but this is not a requirement).
g. Install a penny washer (Ref 4) and a wing nut (Ref 5) on each bolt. Tighten wing nuts to finger-
tightness.
3.1.3.2 Installing the light assembly
The completed AV70 – rubber tile assembly is to be mounted on a surface capable of supporting 6kg
minimum. Securing the rubber tile to the mounting surface is optional, however, Avlite recommend that the
tile be secured at a minimum of two points.
a. Place the completed light assembly in the desired location.
b. Using a hammer, drive steel pegs (Ref 6) through the holes in the corners of the rubber tile being
careful not to damage the AV70 light.
Note:- Other means of securing the tile may be used where the mounting surface is not suited to the use of
steel pegs.
Latest products and information available at
NOTE: Charging Battery
New lights should be left in the sun for
several days to ensure battery is
charged before placing in service. The
light will charge whilst turned off.
10
AV70 Solar Airfield Light
www.avlite.com
