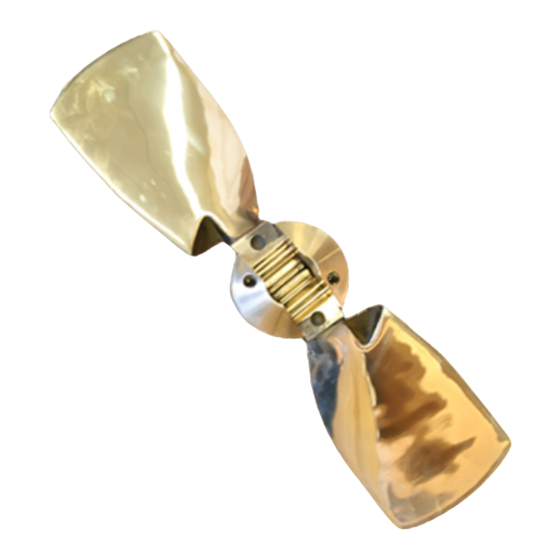
AB Marine Gori Manuel d'instructions d'installation - Page 5
Parcourez en ligne ou téléchargez le pdf Manuel d'instructions d'installation pour {nom_de_la_catégorie} AB Marine Gori. AB Marine Gori 8 pages. 2-blade saildrive propeller

[Gori 2-Blade Saildrive Propeller Installation and Maintenance Instructions, 6/21/2022]
Do not use oil or any petroleum product on Flexible Bushing!
1. Remove the two (7&8) M8 Allen screws per blade pin. There are two (2) Allen screws per blade pin, a
total of four(4). Push the two blade pin (3) out using a wooden dowl - note blades, pins and hub are
numbered for re-assembly.
2. Unscrew the nut-locking bolt (4.1) with the washer (4) using a 5mm Allen key (19). Older models may
have a cotter pin which needs to be removed.
3. Unscrew the two (2) M5 Locking setscrews in the face of the integrated nut washer. Note: this is on
2020+ models.
4. Unscrew the shaft nut (5) counterclockwise using required socket (See above). It may be necessary to
lock the output shaft when undoing the shaft nut. To do this either put the engine into reverse or use
a strap wrench to hold the inner hub (1).
5. Pull/slide the hub (1), off the output shaft spline. Ensure that the Saildrive spacer supplied with the
saildrive unit is in place at the forward end of the output shaft.
This should be done if more than 50% of the zinc (17), has been eroded away.
1. Remove the 4 x Allen-head bolts (11) and remove the old zinc.
2. Clean the surface of the propeller hub to ensure a good clean contact between the hub and the new
zinc
3. Install the new zinc (10) using the Loctite 243 (supplied) on each of the 4 x Allen-head bolts
Removing the Propeller
Replacing the Collar Zinc
Distributed By
AB Marine, Inc ▪ 747 Aquidneck Ave ▪ Middletown ▪ RI 02842
Tel: 401-847-7960 ▪ Fax: 401-849-0631
Email:
▪ Website: www.AB-Marine.com
