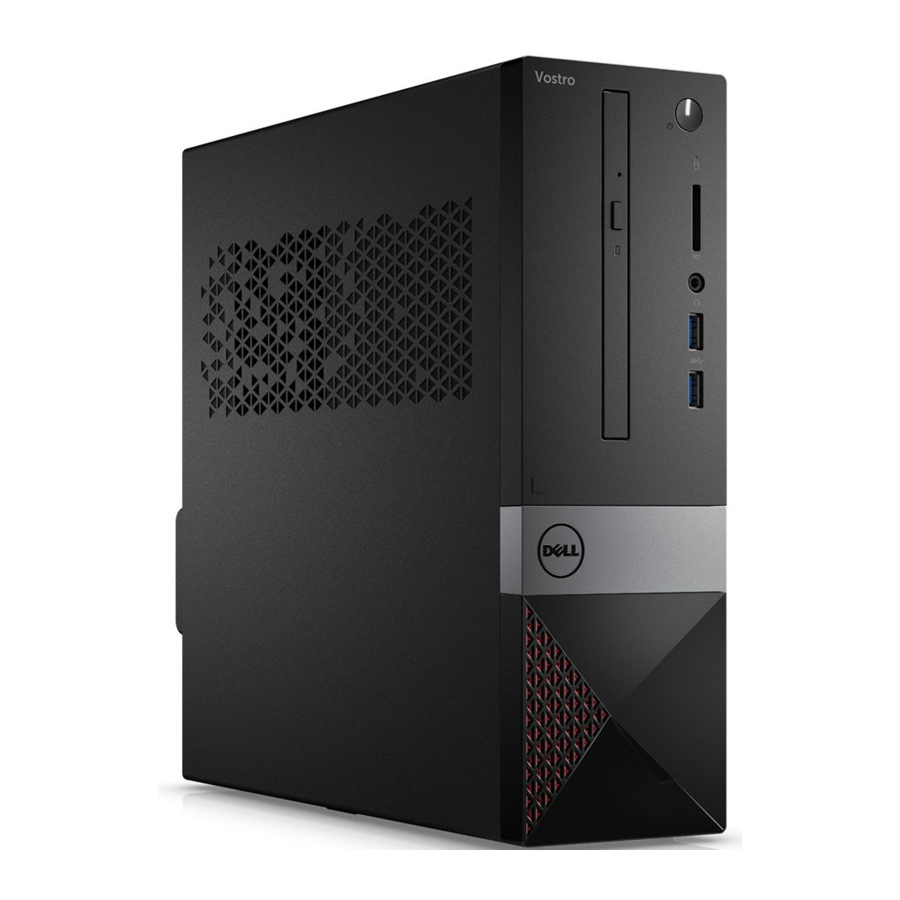
Dell 3250 Manuel du produit - Page 33
Parcourez en ligne ou téléchargez le pdf Manuel du produit pour {nom_de_la_catégorie} Dell 3250. Dell 3250 37 pages. Product guide (.pdf)
Également pour Dell 3250 : Information Update (32 pages), Manuel du propriétaire (39 pages), Manuel du propriétaire (39 pages), Manuel de démarrage rapide (2 pages)

Intel® Server Platform SR870BH2
11. Clearing CMOS and BIOS Recovery
11.1 CMOS Clear
The CMOS must be cleared after the BIOS is updated. If using the automated System Update
Package (SUP), the script will automatically clear the CMOS after the BIOS is updated.
However if SUP is not used, the CMOS must be cleared manually. Clearing the CMOS involves
1. Restarting the server with the new jumper setting
2. Restoring the jumper setting to its original position
3. Restarting the server a final time
As an alternative, the CMOS clear button sequence can be used from the front panel. See the
instructions that follow.
To clear the CMOS using the front panel button sequence follow these steps:
1. Power down the server by pressing and holding down the power button on the front
control panel. Hold down the power button down for several seconds.
2. Assure that the system is off, but AC power is connected (5 V standby available).
3. Assure that the CMOS clear jumper is in the 'not clear' position.
4. Hold down the Reset button for at least 4 seconds. Without releasing the Reset button,
press the On/Off button.
5. Release both the On/Off button and Reset button simultaneously. The system will emit
one beep.
6. Power on the server by pressing and holding the power button on the front control panel.
To clear the CMOS using the jumper on the main board follow these steps:
1. Power down the server by pressing and holding down the power button on the front
control panel. Hold down the power button for several seconds.
2. Unplug both power cords from the server.
3. Remove the top cover from the chassis.
4. Move the jumper at J5H3 from pins 1-2 to pins 2-3.
5. Plug in the power cords.
6. Power on the server by pressing the power button on the front control panel.
7. Wait for the message NVRAM cleared by jumper to appear. When the following
message appears, press <F1> to load the defaults
Press <F1> to load defaults or <F2> to run SETUP or <ESC> to
continue
8. Power down the server by pressing and holding the power button on the front control
panel. To do so, hold down the power button for several seconds.
Revision 1.1
Clearing CMOS and BIOS Recovery
27
