Dell Inspiron 5520 Manuel du propriétaire - Page 24

Parcourez en ligne ou téléchargez le pdf Manuel du propriétaire pour {nom_de_la_catégorie} Dell Inspiron 5520. Dell Inspiron 5520 40 pages. Dell inspiron 14r/15r notebook pc quick start guide
Également pour Dell Inspiron 5520 : Manuel de démarrage rapide (2 pages), Manuel de démarrage rapide (2 pages), Manuel de démarrage rapide (2 pages), Informations sur l'installation et les caractéristiques (12 pages), Manuel de démarrage rapide (18 pages), Configuration et spécifications (27 pages), Configuration et spécifications (28 pages)
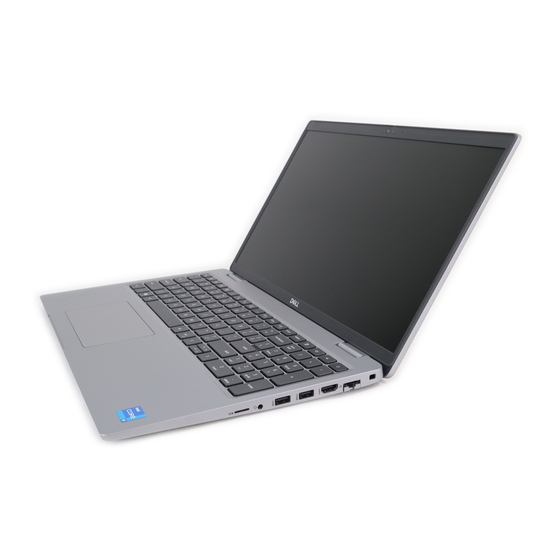
Dell Inspiron 5520 Manuel du propriétaire

Installing the Display Assembly

1
Place the palm-rest assembly at the edge of the table with the speakers facing away from the edge.
2
Align the screw holes on the palm-rest assembly with the screw holes on the display hinges.
3
Replace the six M2.5 x 5 screws that secure the display hinges to the palm-rest assembly.
4
Adhere the tape and route the touch-screen cable through the routing guides on the fan.
5
Connect the touch-screen cable and display cable to the system board.
6
Replace the screw that secures the display-cable bracket to the system board.
7
Follow the procedures in After Working Inside Your Computer.

System board

Removing the System Board

1
Follow the procedures in
2
Remove the:
a
base cover
b
battery
c
fans
d
heatsink
e
SSD
f
memory module
NOTE:
Your computer's Service Tag is located under the system badge flap. You must enter the Service Tag in the
BIOS after you replace the system board.
NOTE:
Before disconnecting the cables from the system board, note the location of the connectors so that you can re-
connect them correctly after you replace the system board.
3
Remove the M2x2 screw securing the metal bracket for the LVDS to the system board [1] and remove the bracket off the computer
[2]. Then, disconnect the LVDS cable from the system board [3].
24
Removing and installing components
Before Working Inside Your
Computer.