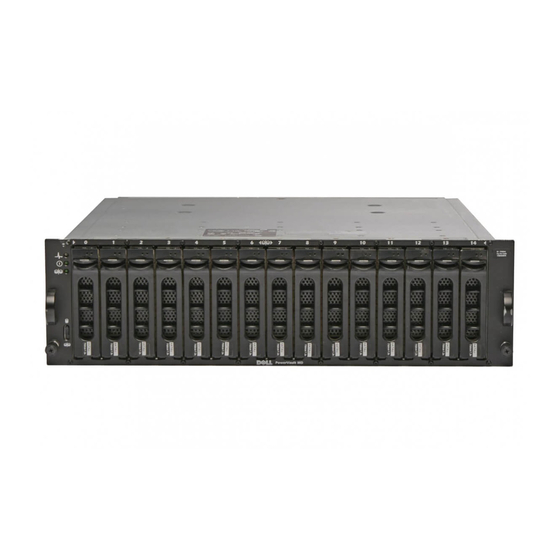
Dell PowerVault MD3000i Manuel de mise à jour - Page 3
Parcourez en ligne ou téléchargez le pdf Manuel de mise à jour pour {nom_de_la_catégorie} Dell PowerVault MD3000i. Dell PowerVault MD3000i 28 pages. Configuration for vmware esx server software
Également pour Dell PowerVault MD3000i : Manuel d'accord (32 pages), Note de soutien (22 pages), Manuel de l'utilisateur (46 pages), Manuel de remplacement (4 pages), Manuel de configuration (10 pages)

6 Connect the expansion enclosures (if present) to the RAID controller
module you added in slot 1, as shown in Figure 2.
NOTE:
Wait for the enclosure status LED to turn blue before proceeding
to the next step.
7 In MD Storage Manager, click the Tools tab (for the storage array you are
upgrading).
8 Select Configure Ethernet Management Ports, then select Controller 1,
Port 1 in the Ethernet port menu.
9 Select Specify configuration.
10 Set the IP address, subnet mask, and gateway for Controller 1, Port 1.
11 Click New to add a new storage array.
12 In the Add New Storage Array window, select Manual and then click OK.
The Add New Storage Array – Manual window opens.
13 Select Out-of-band management.
14 In the RAID Controller Module (host name or IP address) fields, enter
the IP addresses of both the RAID controllers now in your storage enclosure.
Click Add.
When asked if you would like to add another storage array, click No.
15 Adjust the virtual disk caching options (in each example below, the
IP_address is the management port address of RAID controller 0):
Display a list of all virtual disks:
a
SMcli IP_address -c "show allVirtualDisks;"
For each virtual disk name shown, run the following command:
b
SMcli IP_address -c "set
virtualDisk[virtual_disk_name]
mirrorCacheEnabled=true writeCacheEnabled=true
readCacheEnabled=true;"
