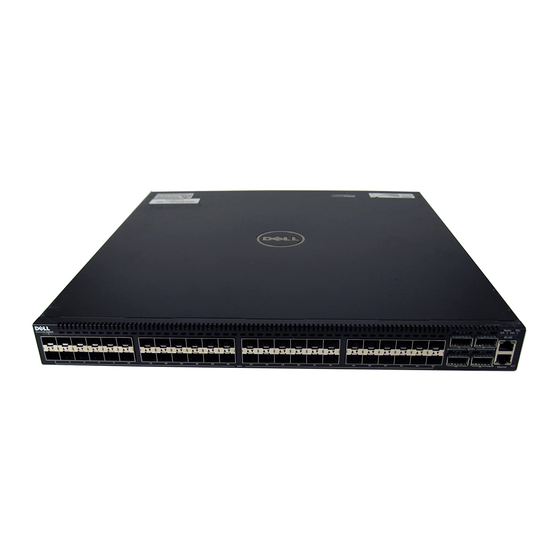
Dell Force10 S4810P Manuel de démarrage rapide - Page 8
Parcourez en ligne ou téléchargez le pdf Manuel de démarrage rapide pour {nom_de_la_catégorie} Dell Force10 S4810P. Dell Force10 S4810P 27 pages. Quick start guide

Step
Task
Attach the brackets to the sides of the chassis at the PSU end, using four
2
screws for each bracket.
Attach the bracket so that the "ear" faces to the PSU and the outside of
the chassis.
View of chassis PSU side
Install chassis into 2-post rack or cabinet
Step
Task
Dell Force10 recommends that one person hold the S4810 chassis in
1
place while a second person attaches the brackets to the posts.
Attach the bracket "ears" to the rack or cabinet posts, using two screws
2
for each bracket. Ensure the screws are tightened firmly.
Attach a Ground Cable
The S4810 is shipped with 1 M4x0.7 screw for attaching a ground cable to the
chassis. The cable itself is not included. Dell Force10 recommends a 6AWG
one-hole lug, #10 hole size, 63" spacing (not included in shipping) to properly
ground the chassis. The one-hole lug must be a UL recognized, crimp-type lug.
NOTE: The rack installation ears are not suitable for grounding.
CAUTION: Grounding conductors must be made of copper. Do not use
aluminum conductors.
4
Installing the Hardware
Power Supply
Connect to
Rack/Cabinet
View from chassis I/O side
(ears)
Screws
Screws
Connect to
PSU0
PSU1
Rack Mounting
Ears
Rack/Cabinet
Post
