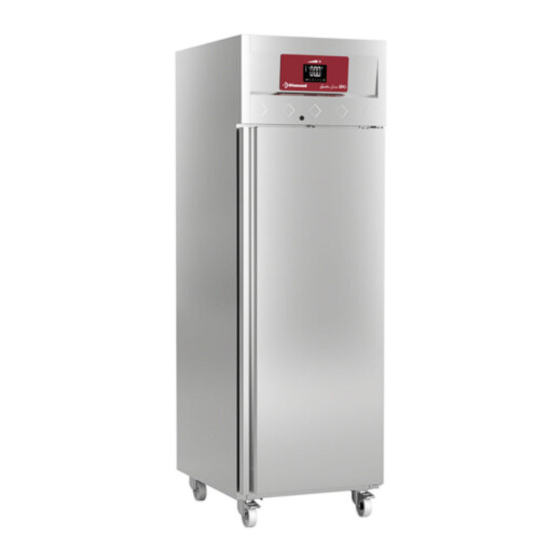
Diamond IE140/R9 Manuel d'instruction - Page 4
Parcourez en ligne ou téléchargez le pdf Manuel d'instruction pour {nom_de_la_catégorie} Diamond IE140/R9. Diamond IE140/R9 9 pages. Refrigerated cabinets

Remove the pallet, taking care not to knock the unit. The cabinet can now be levelled, screwing in or
unscrewing the legs. When it is levelled, the protection film can be removed from the stainless steel
using a blunt object, and not a cutter as it could scratch the steel.
There must be a gap of 50 mm at the back and 30 mm at the sides of the cabinet when it has been
permanently installed.
1.1 CLEANING
Now that our cabinet is correctly installed, we must proceed to cleaning it:
The first cleaning must be carried out with water and neutral detergent. Once clean and dry, insert
the accessories in the appropriate places, as you prefer.
We recommend cleaning the outside of the unit daily with a damp cloth and following the direction of
the stainless steel's polished finish. Abrasive substances or those containing chlorine must not be
used. Rinse with clean water, avoiding direct water jets.
CONNECTION
1.2 GENERAL
Before connecting the cabinet to the socket, check that the network voltage and frequency correspond
to those indicated on the appliance's nameplate.
It is essential that the electrical installation where the cabinet is going to be connected has
an EARTHING SOCKET, in addition to the appropriate magneto-thermal switch and
differential protection (we recommend 30 mA)
Check that the section of the electricity socket is appropriate for the consumption it is going to
withstand. It must be a Schuko type socket, as your cabinet's cable is this type (also called F type
and in the EEC 7/4"), with a 4.8 mm terminal and earthing socket.
For your safety, it is prohibited to lengthen this power cable. Do not insert any elements through the
fan guard or refrigerator equipment area grilles. The place where the unit is going to be installed must
be perfectly levelled. In the fish cabinets, the cabinet's drainpipe must be connected to the general
drainage system. This will be carried out according to local regulations.
Turn clockwise to lower the unit
Turn anticlockwise to raise the unit
17
