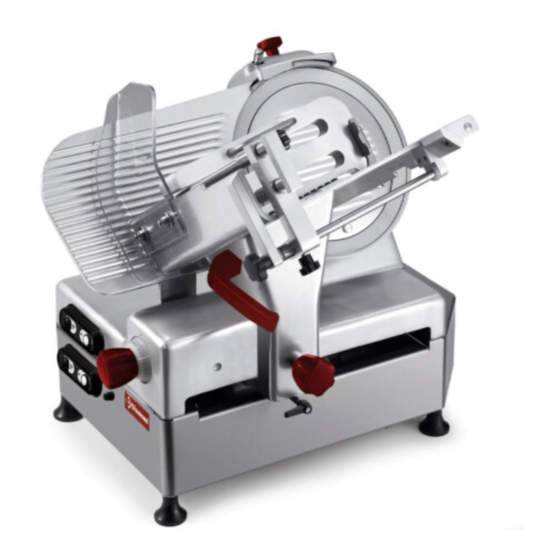
Diamond 300 Manuel d'utilisation et d'entretien - Page 14
Parcourez en ligne ou téléchargez le pdf Manuel d'utilisation et d'entretien pour {nom_de_la_catégorie} Diamond 300. Diamond 300 16 pages. Ce professional slicer
Également pour Diamond 300 : Utilisation et entretien (10 pages)

N.B.: Blade dressing should not exceed more than 3/4 sec. to prevent damaging
the blade edge.
CHAP. 6 - ROUTINE CLEANING
6.1 - FOREWORD
The slicer must be cleaned at least once a day and if necessary, more fre-
quently.
All the parts of the slicer that come into direct or indirect contact with the food
product must be scrupulously cleaned.
The slicer must not be cleaned with water cleaning machines or water jets, but
with the product provided and/or with neutral detergents (pH 7). The use of any
other detergent is prohibited. Utensils, brushes and or other tools must not be
used which could damage machine surface .
Before cleaning always :
1. disconnect the plug from the mains power supply to completely isolate the
machine from the mains network;
2. Turn the thickness selection knob to "0".
WARNING: evaluate residual risks due to sharp parts which could cause injury.
6.2 - CLEANING THE MACHINE
6.2.1 - Cleaning the hopper
see Fig. n°51
The hopper assembly (hopper + pusher
+ stem) is easy to remove:
- turn the thickness selection knob to
"0" (1);
- move the hopper assembly (2) to end
of travel (a) towards the controls;
partially unscrew the hopper lock
knob (3), pull the assembly towards
the operator; completely unscrew the
hopper lock knob, and then lift the
assembly (4) (b);
once the assembly is removed, the
-
hopper can be cleaned with warm
water and the detergent provided or
with a warm water and neutral
detergent (pH 7) solution Fig. n°52.
b
3
a
1
Fig. n°51
pH
Fig. n°52
24
6.2.2 - Cleaning the blade, the bladeguard and the ring (see FIG.n°53-54-55)
WARNING: a pair of metal gloves must
be worn when cleaning the blade (1)
(Fig. n°53) and use a damp cloth.
Unscrew the hand grip from the blade-
guard tie rod (1) and extract the blade-
guard (2) using the proper grip to hold it
(Fig. n°53). At this point it is possible to
clean the blade Fig. n°54.
To clean the surfaces opposite the
blade and the ring, the blade must be
extracted in the following way:
1.unhook the bladeguard (Fig. n°53);
2.remove the sharpening device (Fig.
n°55 ref. a) and open, utilising the
thickness selection knob, the thick-
ness gauge so that the jig (Fig. n°55
ref. b) adheres to the blade;
3.unscrew the three or four screws (Fig.
n°55 ref. f), depending on the model,
which fasten the blade in position;
4.position the jig (b) on the blade so
that the split in the jig fits in the ring
(Fig. n°55 ref. c);
5.match the axes of the two holes (Fig.
n°55 ref.d) on the blade with the two
knobs(Fig. n°55 ref.e) on the jig,
simply making the blade turn to the
desired position;
6.screw the two knobs (e) without
excessively tightening them.
N.B. The bladeguard must be cleaned
with warm water and the detergent pro-
vided or with a warm water and neutral
detergent (pH 7) solution.
1
3
2
Fig. n°53
Fig. n°54
b
a
e
f
Fig. n°55
25
d
c
