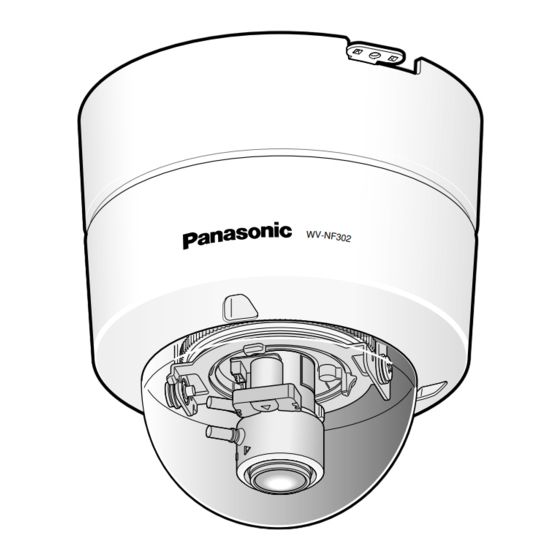
Panasonic WVNF302 - NETWORK CAMERA Manuel d'installation - Page 21

Parcourez en ligne ou téléchargez le pdf Manuel d'installation pour {nom_de_la_catégorie} Panasonic WVNF302 - NETWORK CAMERA. Panasonic WVNF302 - NETWORK CAMERA 36 pages. Ip video cameras
Également pour Panasonic WVNF302 - NETWORK CAMERA : Brochure (2 pages), Manuel d'utilisation (20 pages), Référence (2 pages), Tableau de comparaison (6 pages), Note d'intégration (8 pages), Manuel d'utilisation (20 pages)

Panasonic WVNF302 - NETWORK CAMERA Manuel d'installation
Step 6
Fix the camera and the camera mount brack-
et using the provided camera fixing screw
(M3 x 6)
(tightening
{0.44 lbf·ft}).
After fixing with the camera fixing screw,
check the following.
• The camera is placed on the level and
mounted firmly.
• The camera is not mounted shaky.
• The main body cannot be rotated.
The mounting requirements are shown as follows.
Mounting place
Model
Ceiling/wall
(Direct mounting)
Ceiling
WV-Q173
(Approx. 350 g)
* Make sure that the installed mount bracket can support more than 5 times of the weight of
the camera.
Step 7
Turn on the power of the camera.
Step 8
Adjust angular field of view and focus.
( pages 26 and 27)
Step 9
Place the upper cover onto the camera body
so that the projection of the bracket is
aligned with the notch of the upper cover.
torque:
0.59 N·m
Recommended
screw
M4 or equivalent
15°
Main body
Number of
screws
4 pcs.
Tighten the 3 screws. (Recommended tight-
ening torque: 0.59 N·m {0.44 lbf·ft}).
Camera fixing
screw
Rotate
Camera mount
bracket
Minimum pull-
out strength of
a single screw
196 N {44.1 lbf}
*
Attach
21