HP ProCurve 1600M Manuel d'installation - Page 13

Parcourez en ligne ou téléchargez le pdf Manuel d'installation pour {nom_de_la_catégorie} HP ProCurve 1600M. HP ProCurve 1600M 28 pages. Redundant power supply
Également pour HP ProCurve 1600M : Fiche technique (12 pages), Lisez-moi d'abord (8 pages), Manuel du réviseur (27 pages), Manuel complémentaire (2 pages), Manuel complémentaire (2 pages), Manuel d'installation (36 pages), Manuel d'installation (28 pages), Manuel d'installation rapide (2 pages), Manuel d'installation rapide (4 pages), Manuel de l'utilisateur (8 pages), Supplément au manuel (28 pages), Lisez-moi d'abord (16 pages), Installation et retrait (2 pages), Manuel d'installation (12 pages), Manuel de planification et de mise en œuvre (40 pages), Instructions de démontage du produit en fin de vie (2 pages), Manuel d'installation (46 pages), Manuel de diagnostic (2 pages), Instructions de démontage (2 pages)
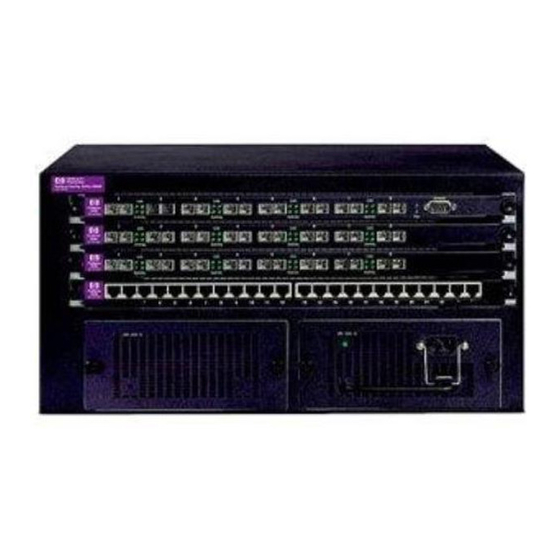
HP ProCurve 1600M Manuel d'installation
N o t e
6.
Connect the appropriate network cables to the module's ports as shown
in the table on the next page. The table shows the supported cable types
for the 10/100-TX GL Module and the 100/1000-T GL Module. The cabling
that you would use for the transceivers that are installed in the Gigabit
Transceiver GL Module depends on the types of transceivers you are
using. Please see the manual that came with the transceivers for informa-
tion on the appropriate cabling.
For more information on the cable specifications, see "Cables" on page 17.
Automatic Cable Sensing:
When the ports for the 10/100-TX GL Module and the 100/1000-T GL Module
are in their default configuration, Auto, both modules automatically negotiate
whether the ports operate as MDI or MDI-X, depending on the cable type and
the connected device's operation. As a result, you can use either "straight-
through" or "crossover" twisted-pair cable for all network connections to
these modules.
On the 10/100-TX GL Module, this feature is identified as HP Auto-MDIX; on
the 100/1000-T GL Module, it comes with compliance with the IEEE 802.3ab
standard, and is identified as Auto MDI/MDI-X. Both features operate the
same.
Operation of this feature depends on the port configurations being kept at Auto.
If the configuration is changed to one of the available fixed options though
(for example, 100-Full Duplex), the port operates as an MDI-X port. In that
case, to connect the module to another switch or hub, use a crossover cable;
to connect to an end node, use a straight-through cable.
Installing the Module
7