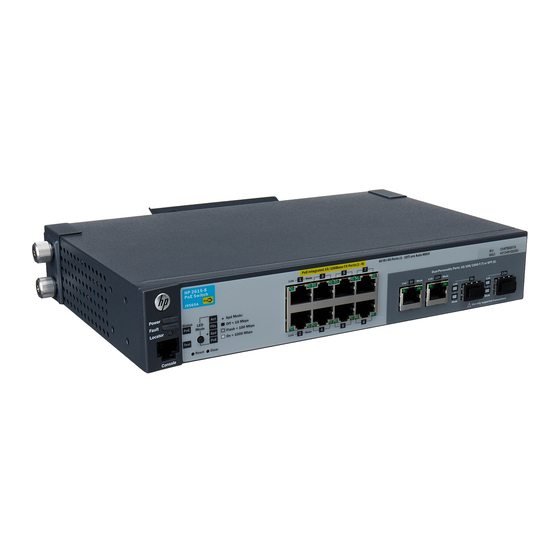
HP ProCurve 2615-8-PoE Manuel d'installation rapide - Page 2
Parcourez en ligne ou téléchargez le pdf Manuel d'installation rapide pour {nom_de_la_catégorie} HP ProCurve 2615-8-PoE. HP ProCurve 2615-8-PoE 6 pages. 8-port switches
Également pour HP ProCurve 2615-8-PoE : Manuel de sélection (2 pages), Spécifications (24 pages), Notes de mise à jour (14 pages)

4.
Install the Switch Hardware (Continued)
Rack Mounting: A rack-mounting kit is included with your switch. Use a #1 Phillips (cross-head) screwdriver to attach the
rack brackets to the switch using the eight 8-mm M4 screws. Then use the four number 12-24 screws to secure the brackets
to the rack.
5.
(Optional) Lock the Switch. Use a Kensington lock or similar
device (not included) to physically secure the switch.
6
. Power On the Switch and Secure the Power Connector.
Use the cable tie in the accessory kit, and the retention tab on the
switch, to secure the power connector.
7
. Connect Network Cables.
Note: For transceiver connections, use only HP-supported SFP
transceivers. See "SFP Installation Notes" on page 3.
8
. (Optional) Configure the Switch for Management.
By factory default, the switch will automatically obtain its IP
network configuration from a DHCP or BootP server. Subsequently,
you can determine the IP address assigned to the switch by
inspecting your DHCP/BootP server, or by using LLDP from a
connected device.
You can also manage and configure the switch through a console
port connection. Connect a VT-100 terminal or PC (with suitable
terminal emulation software) to the switch using the serial cable
(DB-9 and RJ-45 connectors) supplied with the switch.
* Note: You can also connect a console to the switch via the USB
console port (cable not provided). Use a USB 2.0 high-speed cable
with a male type A (4-pin) to male micro-B (5-pin) connector.
Maximum allowable length is 5m. For more information on using
the USB console port, see the Installation and Getting Started
Guide for your switch.
For information on configuration and remote management, see the
Management and Configuration Guide for your switch at
www.hp.com/networking/support.
Cable tie
RJ-45 to DB9
Console cable
supplied with
the switch
2
Retention
tab
Console port
Optional USB
Console cable
(not supplied) *
To PC running a
terminal emulator
program, or a
VT-100 terminal
