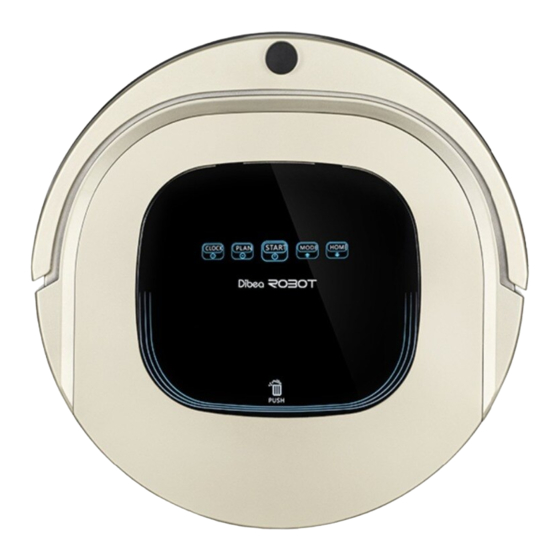
dibea R701 Manuel de l'utilisateur - Page 7
Parcourez en ligne ou téléchargez le pdf Manuel de l'utilisateur pour {nom_de_la_catégorie} dibea R701. dibea R701 12 pages. Robotic vacuum cleaner

Product Operation
Product Operation
Product Operation
Product Operation
Product Operation
Product Operation
1. Battery charging
1. Battery charging
1. Battery charging
1. Battery charging
1. Battery charging
A.Place charging home base
Put charging home base against the wall
and remove obstacles about 1 meter at two
sides and about 2 meters forward like right picture
B.Press power On/Off button to open the robot.
C.Two choices for charging
a.directly plug adapter into the robot and other end to power socket as fig a.
b.press
button on the main body or remote control to make robot to home
base for charging as fig b
Note:
Note:
Note:
Note:
a. During charging, LED panel will show '11:11'.
b. After finishing charging, LED panel will show "FULL"
c. Low power in standby mode, robot will speack"please charge", LED panel will show
d. Low power in working mode, robot will return to charging station automatically, and
LED panel will show
Ways to effectively extend battery life:
Ways to effectively extend battery life:
Ways to effectively extend battery life:
Ways to effectively extend battery life:
Ways to effectively extend battery life:
Ways to effectively extend battery life:
a. Before first use, charge the robot for 12 hours.
b. Once the battery uses up, recharge it as soon as possible.
c. The robot will automatically return to charging home base when cleaning is done
or power is low.
d. If the robot is not used for a long time, take out the battery and put it in a safe place.
e. If robot is not used more than 3 months, please charge it for 12 hours.
2. Starting up/ Standby/ Sleeping/ Shut down
2. Starting up/ Standby/ Sleeping/ Shut down
2. Starting up/ Standby/ Sleeping/ Shut down
2. Starting up/ Standby/ Sleeping/ Shut down
A.Starting up
a. Make sure power button is in "on" statue.
b. Press
button on main body or remote control to start cleaning.
Note:
Note:
Note:
Note:
If the rotot is in sleeping mode, press
it to the standby mode first and press it again to start cleaning.
on main body or remote control to change
Product Operation
Product Operation
Product Operation
Product Operation
Product Operation
Product Operation
B. Standby
Standby means the robot is connected to power supply and wait for your further operation,
change to standby via followed ways:
a. when the robot is working, press
b. press "On/Off" button on the remote control
C. Sleeping
When robot is in sleeping mode, press
it up. To conserve battery life to a maximum degree, switch to sleeping mode via followed
ways:
a. when in standby mode, long press
b. when in standby mode, no operation more than 60 seconds, it will switch to sleeping mode
automatically.
D. Shut down
Directly turn off power.
3. Scheduling
3. Scheduling
3. Scheduling
3. Scheduling
You can schedule the robot to make it clean automatically at a certain time every day.
The robot can only be set when it 's in Standby or Charging mode. If the robot is in sleep mode,
press
on main body or ON/OFF button on remote control to wake up the robot. If the robot is
in cleaning mode, stop it before scheduling.
1. Scheduling by the LED panel on robot
A. Setting robot clock
Press
to check the time and the panel shows the current time. The
Press
to set the hour. The left two numbers will flash. Press
Press
to increase the hour. Press
Press
to decrease the minute, press to increase the minute. Press
The day indicator light will flash. Press
Press
to save the setting and back to check the time.
( During scheduling, press
back to standby mode, settings won't be saved.)
B. Check the scheduling
In standby mode, short press
to check the schedule. The
the display panel. Press
to set the next day. Press
C. Setting scheduling time
To set scheduling time,follow the same steps as setting robot clock.
D. Cancel scheduling
In modifying schedule, set the scheduling time as 00:00 and confirm, then the scheduling will be cancelled.
E. One-click scheduling/ cancellation
In standby mode, long press
the for 2 seconds to set the current time as daily scheduled working
time.
In checking schedule mode, long press
switch to standby
on the main body or remote control to wake
button 3 seconds switch to sleeping mode.
will flash.
to decrease the hour.
to set the minute, the right two numbers will flash.
to set the day.
to decrease the day. Press
to increase the day.
will flash. The day will be shown on
to set the previous day.
for 2 seconds to cancel all the scheduling.
