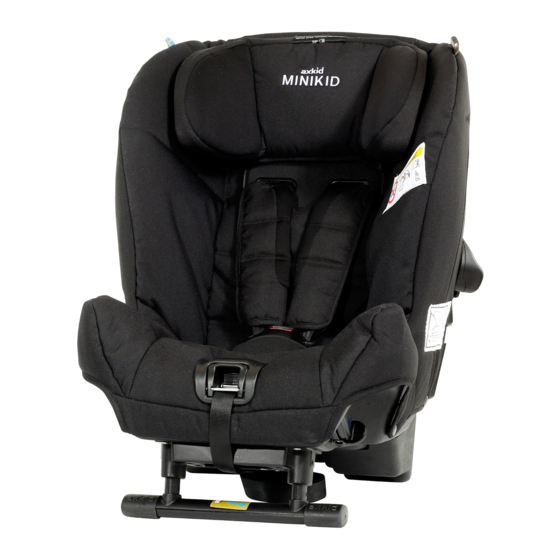
Axkid Minikid Manuel de l'utilisateur - Page 6
Parcourez en ligne ou téléchargez le pdf Manuel de l'utilisateur pour {nom_de_la_catégorie} Axkid Minikid. Axkid Minikid 8 pages.

6
Pull out the band from the retractor (1)
to a suitable length. Check that the white
markings on the bands are visible (2), if not,
try to cross the straps thereby making them
a bit longer so that the white markings are
visible. Attach the interface in the car's or
attachment belt loop. Repeat on the other
side. Wiggle the chair lightly from side to
side a few times.
Fold out the support column (3) to its
outermost position. Pull the latch on the
top height adjuster (3) and pull down the
column so that it makes contact with the
car floor. In case the support column is
not long enough, repeat use of the lower
height adjuster (4). Wiggle the chair from
side to side once again, this time somewhat
stronger. The retractor will then be tensioned
automatically.
If you have installed the car seat in the
car's back seat, move now your vehicle seat
in front of it to a comfortable position. The
back of the car's seat may, but need not, be
in contact with the car seat.
Adjust the seat belt
Place the child in the car seat. Place the
child's arms in between the shoulder straps
so that the straps hang over the baby's chest
and stomach. Assemble the shoulder straps
and fasten them in the seat belt between the
child's legs.
Pull the adjustment belt (5). The belt is
tensioned and the headrest automatically
slides down to the correct height. To loosen
the ties, hold down the belt adjustment
button and pull both belts just below the
cuffs.
1
2
3
4
5
3
