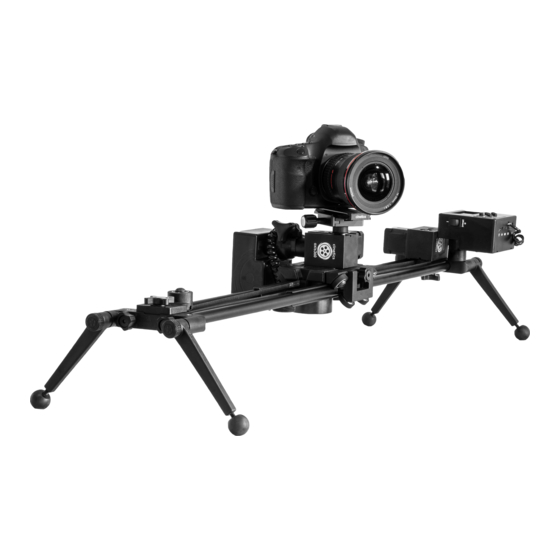
cinetics AXIS360 Manuel de démarrage rapide - Page 18
Parcourez en ligne ou téléchargez le pdf Manuel de démarrage rapide pour {nom_de_la_catégorie} cinetics AXIS360. cinetics AXIS360 19 pages.
7 | Quickstart Controller Settings cont.
Main Page Settings
Press the Home/Play button. This is where you can customize your timelapse settings
Step 1: First set your End Point
Step 2: Do the above to set your Start Point
You can select Go to Start or Go to End by pressing the right arrow. This will show you the positions you
set for your start and end. If needed, you can make any adjustments; just make sure you select either
Set Start Point or Set End Point again by hitting the right arrow key to confirm
Step 3: Scroll down to Record Time
Step 4: Set Playback Time
Step 5: Choose Exposure
Exposure should always be faster than the interval time so that camera has time to shoot before the
next movement
Step 6: Choose PlayB FPS (Playback Frames Per Second)
Step 7: Choose Move Type
Moving the right or left arrow will spin the motor right and left
Find the place you want your timelapse to end
To set End Point scroll down to Set End Point with the down arrow
then hit the right arrow button
There will now be a check mark next to Set End Point
Choose Record Time by pressing the right and left arrow keys to adjust the number
Press the right and left arrow keys to adjust the number
Press the right and left arrow keys to adjust the number
This will change the desired number of photos
Generally 24 FPS
S-M-S (shoot-move-shoot) stops to take a photo, moves, stops to take
a photo, moves and so on..
Continuous never stops moving while shooting the photos
17.