Arc-Zone DGP-PG3-A Manuel d'utilisation - Page 6
Parcourez en ligne ou téléchargez le pdf Manuel d'utilisation pour {nom_de_la_catégorie} Arc-Zone DGP-PG3-A. Arc-Zone DGP-PG3-A 11 pages. Heavy-duty tungsten grinder

NJUMMJVQQJOOQP=
ïïïK~êÅJòçåÉKÅçã=
=
máê~åÜ~=fff=léÉê~íáçåë=j~åì~äW=m~ÖÉ=S=
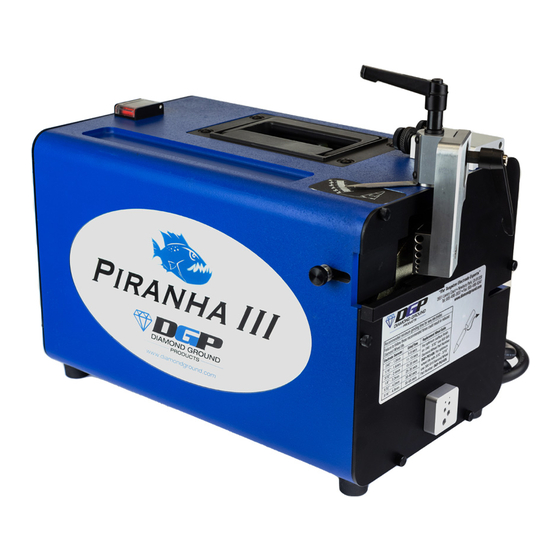
SETTING THE TIP FLAT GAUGE:
Note: The left gauge hole is for 3/32" diameter and smaller electrodes and the right
gauge hole is for electrodes larger than 3/32" in diameter.
With electrode extending to the desired length, tighten the electrode wand.
Loosen Nut D on the Tip Flat Gauge
and insert electrode into the Tip Flat
Gauge.
Rotate Knob C until the Stop makes
contact with the electrode tip, then lock
in place with
Nut D.
To duplicate electrode Tip Flat
diameter, insert electrode into
electrode wand. Extension should be beyond the desired final length.
Adjust electrode wand so there is a slight drag on the extended electrode.
Insert electrode into Tip Flat Gauge and slide until the nose of the electrode wand
contacts the Gauge face. Secure electrode into position by tightening the electrode
wand.
GRINDING:
After the set up procedure, you are now ready to prepare precision ground tungsten
electrodes quickly and easily. Turn Power Switch On: Insert tungsten into the proper
Collet Hole in the Universal Collet.
Lightly contact the wheel with the tungsten and rotating the electrode in a steady
manner until you achieve the desired Grind Angle or Tip-Flat. Be patient and Do Not
gouge or force the electrode into the wheel by trying to grind the electrode too quickly.
Gouging the electrode into the wheel causes excessive wheel wear and inconsistent
electrode finish.
^o`JwlkbK`ljI=fåÅ.
==OMVN=i~ë=m~äã~ë=aêáîÉ=píÉK=`
==`~êäëÄ~ÇI=`^==VOMNNJNRRN=
qÉäW=TSMKVPNKNRMM
==UMMKVQQKOOQP
==c~ñW=TSMKVPNKNRMQ
==bJj~áäW=áåÑç]~êÅJòçåÉKÅçã==
ïïïK~êÅJòçåÉKÅçã=
=
Copyright 2007, Arc-Zone.com®, Inc. All Rights Reserved.
