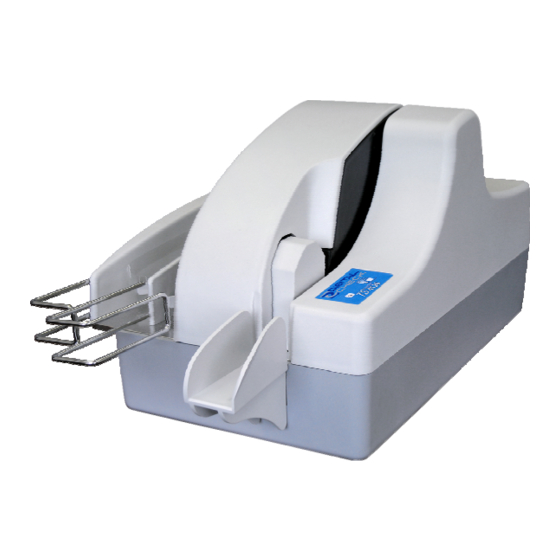
Digital Check TellerScan 4120 Manuel de l'utilisateur - Page 6
Parcourez en ligne ou téléchargez le pdf Manuel de l'utilisateur pour {nom_de_la_catégorie} Digital Check TellerScan 4120. Digital Check TellerScan 4120 20 pages. Branch office check scanner

TellerScan 4120 User Manual Rev 050609
Installing the Rear Endorser Inkjet Cartridge
Follow these instructions when installing the inkjet cartridge for the first time, or when
replacing an empty cartridge:
1. Remove the center cover and locate the
inkjet printer. (Fig. 5)
2. If replacing an existing cartridge, remove the
inkjet cartridge by grasping the small tab at
the rear end and gently pulling upward.
Discard the used cartridge.
3. Obtain a new inkjet cartridge (HP part
number C6602A). For new installations, one
new cartridge is included with each inkjet
model scanner.
instructions included with the cartridge
4. Remove the protective tape covering the ink nozzles. Be careful not to touch the ink
nozzle with your fingers or allow it to come in contact with any clothing.
5. Insert the nozzle end of the cartridge into the cradle (Fig. 5) in the scanner and slide
forward while keeping the reservoir end of the cartridge tilted slightly upward.
6. Push the cartridge downward until it snaps into position and then replace the top-
center scanner cover.
Note: If the scanner has to be transported by common carrier from one place to another
or extended periods of inactivity, it's advisable to remove the inkjet cartridge from the
scanner and seal in an airtight bag. If the cartridge has not been used for an extended
period of time, it may be necessary to clean the inkjet nozzles with a wet towel, and
then blot dry.
Be certain to read the
Fig. 5
6
