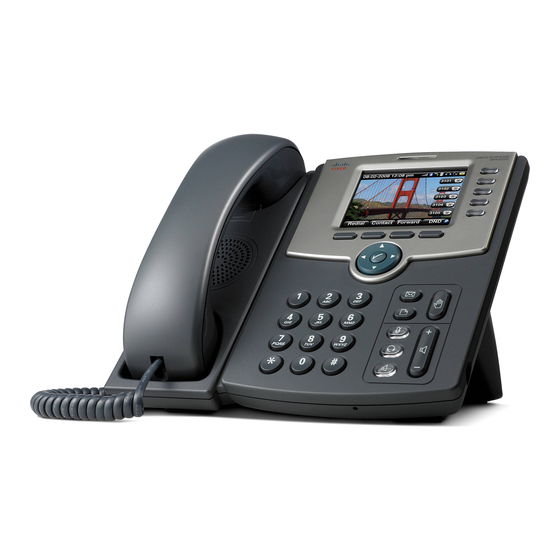
Cisco Small Business SPA525G2 Manuel de l'utilisateur - Page 14

Parcourez en ligne ou téléchargez le pdf Manuel de l'utilisateur pour {nom_de_la_catégorie} Cisco Small Business SPA525G2. Cisco Small Business SPA525G2 47 pages. Vpn status
Également pour Cisco Small Business SPA525G2 : Fiche technique (6 pages), Manuel de démarrage rapide (2 pages), Manuel de l'utilisateur (8 pages), Manuel de l'utilisateur (22 pages), Manuel de démarrage rapide (14 pages), Manuel de configuration (12 pages), Manuel de configuration (12 pages), Manuel de démarrage rapide (21 pages), Carte de référence rapide (2 pages), Manuel de démarrage rapide (8 pages), Manuel de démarrage rapide (3 pages), Manuel de démarrage rapide (3 pages), Manuel de démarrage rapide (3 pages), Manuel de démarrage rapide (4 pages), Manuel (3 pages), Manuel (3 pages), Configuration (9 pages), Manuel de démarrage rapide (2 pages), Manuel de démarrage rapide (2 pages)

Cisco Small Business SPA525G2 Manuel de l'utilisateur
Chapter 2 – Installing your Cisco SPA 525G IP phone

Installing your phone

Your Cisco 525G2 phone will have been set up by a Vodafone One Net engineer, so it should already be
correctly installed and working. However, the information within this section of the guide will help you
move a phone to another location or swap it with another device.

Before you start

Before you install your phone, check with your Vodafone One Net administrator (if you have one) that the
network's ready, read the safety information and make sure you have all the phone parts and user guides
available.
Note: The RJ-11 port marked 'AUX' is reserved for connection with the Cisco SPA 500S Attendant
Console that works with the Cisco 525G2. It can't be used as a telephone line port.
Important:
Don't plug a telephone line cord into the port marked 'AUX'

Connecting the handset

1. Insert the longest end of the coiled phone cord into the back of the phone base in the slot marked
with a phone symbol. This port is labelled #5 on the Cisco 525G2 IP phone connections image.
2. Insert the short end of the phone cord into the jack at the bottom of the handset (not shown).

IP phone connections

Version 1.5
14 of 47