ACU-RITE 00595 Manuel d'instruction - Page 4
Parcourez en ligne ou téléchargez le pdf Manuel d'instruction pour {nom_de_la_catégorie} ACU-RITE 00595. ACU-RITE 00595 10 pages. Professional wireless weather station with wind sensor & atomic clock

ACCESSING THE BATTERY COMPARTMENTS
Main Unit: Open the battery cover located on the back of the unit. Remove the screw set
provided for wall mount use and insert 3 fresh "AA" batteries. (Batteries not included).
Replace battery door cover.
Thermo-Hygrometer Sensor: Rotate and pull
the top casing from the bottom cone by turning
the unit upside down and rotating counter-clock
wise until casing pulls apart. Slide the battery
compartment cover (located on the side of the
sensor) off. Insert 2 fresh "AA" batteries
(batteries not included). Replace the battery
compartment cover and rotate the top back
into the bottom piece.
Wind Sensor: Twist off the top from the bottom
and open the battery cover located on the
bottom of the sensor. Insert 2 fresh "AA"
batteries. (Batteries not included). Replace
battery door cover by putting battery cover on
half way and then sliding into place. Twist on
the top to the bottom piece.
NOTE:
1. When installing batteries, always install
according to the polarity indicated in the
battery compartment.
2. When installing or replacing batteries do
not mix battery types or old batteries with
new batteries.
Top Casing
Battery
Door
Batteries
Bottom Cone
Top Casing
Battery
Battery
Battery
Door
Bottom Casing
6
INITIAL SET-UP
POWER ON:
Once the batteries have been inserted into the wireless sensors, they will automatically begin
transmitting data.
Wireless Reception
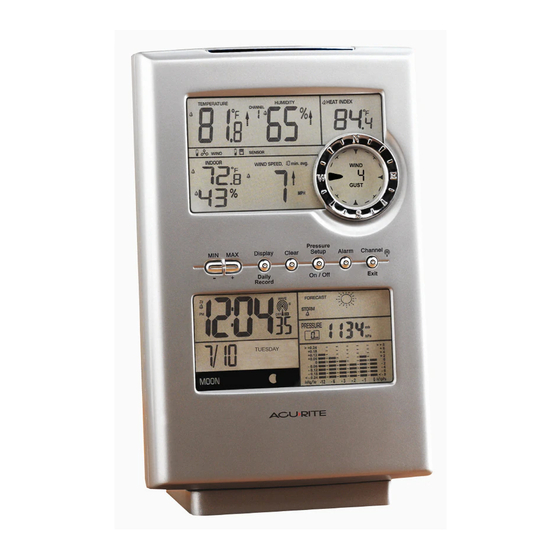
The main unit has wireless signal reception
icons in the temperature display area. If there
are a low number of "bars" present, you may
experience no temperature or wind display
( "--" ) . In either case, you may need to
relocate one or both of the units. If most or
all 4 of the bars are present, wireless
reception is good and no action is required.
no reception
OPERATION
After the main unit and the wireless sensor are
both powered on and wirelessly synchronized,
no further input is required. The atomic clock
will automatically re-synchronize occasionally to
ensure the clock is accurate.
Atomic Clock Reception Icon
A
14 Day Learning Mode
B
This weather station has a patent pending
fourteen day learning mode calibration
process. During this learning mode the
weather station will make altitude calculations
that may affect the accuracy of the forecast.
Once the 14 day learning mode process is
complete, the learning mode icon will
disappear and the weather forecast should be
ready for superior operation.
SIGNAL RECEPTION:
OUTDOOR WIRELESS SENSORS: As soon as the main unit is powered up, it will begin to
search for the outdoor wireless sensor signals. While in search mode, the bar icons will be
animated. During this time, all of the outdoor values will be shown as "---" until the weather
data has been received correctly. To force a signal search, press and hold the "CHANNEL"
button for 3 seconds.
RADIO CONTROLLED ATOMIC CLOCK:
The Radio Controlled Atomic Clock (RCC) signal from Fort Collins, CO is relayed through the
wireless thermo-hygrometer sensor. If the RCC signal has successfully been received, " "
will be displayed. If the RCC signal has not been received, only the icon " " will be displayed.
The RCC signal is best received at night and may take up to 24 hours to be received initially.
Thermo-Hygrometer
Wind Reception
Sensor-reception
Icon
Icon
great reception
A
B
Forecast Icon
C
This feature gives you the predicted weather
forecast for the next 12 to 24 hours based on an
advanced algorithm that includes barometric
pressure and temperature. This weather station
will provide the most accurate forecast that a
single station weather instrument can provide.
7
Optional Rain Gauge
Reception Icon
C
