Cisco ATA 191 Manuel de l'utilisateur - Page 13

Parcourez en ligne ou téléchargez le pdf Manuel de l'utilisateur pour {nom_de_la_catégorie} Cisco ATA 191. Cisco ATA 191 40 pages. Analog telephone adapter
Également pour Cisco ATA 191 : Manuel de l'utilisateur (30 pages), Manuel d'administration (4 pages), Manuel de l'utilisateur (10 pages), Commencer (8 pages), Manuel (10 pages), Manuel de démarrage rapide (13 pages), Manuel de configuration (6 pages), Manuel de l'utilisateur (30 pages)
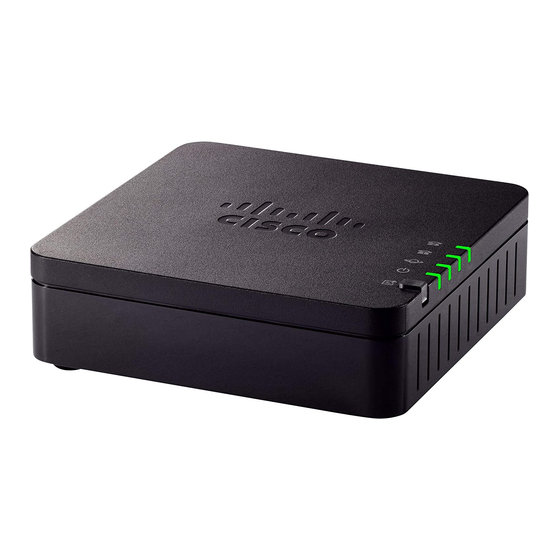
Cisco ATA 191 Manuel de l'utilisateur
Your ATA
If connecting a fax machine, connect it directly to the ATA. Do not connect an extension to a fax machine,
and do not use a splitter.
Step 3
(Optional) If you have a second analog device, connect the phone cable to the PHONE 2 port on the ATA
and to your second analog device.
Step 4
Connect the ATA power cable to the DC 5V POWER port on the ATA, and plug the power cable into your
power source.

Phone Adapter Configuration Utility

You can configure or customize some phone features with the Phone Adapter Configuration Utility webpage.
Your administrator gives you the page URL, your user ID, and password.
In the Configuration Utility page, you can view some network and administration settings, as well as some
basic information about your ATA, such as firmware version, serial number, and memory use.
Most people use the Phone Adapter Configuration Utility page to set up a few basic features such as Speed
dial or Call forward. To set up these features, refer to the following table.
The following table describes the phone features that you configure from the Phone Adapter Configuration
Utility webpage.
Table 3: Configuration Utility Features
Feature
Call forward and Selective call forward.
Cisco ATA 191 and ATA 192 Analog Telephone Adapter User Guide for Multiplatform Firmware
Phone Adapter Configuration Utility
Description
You specify the number that will receive calls when
call forward is enabled on the phone. Use the
Configuration Utility page to set up more complicated
call forward functions, for example, when your line
is busy.
For more information, see
Call Forward Settings, on
page 15
or
Selective Call Forward Settings, on page
15
and
Set Up Phone Features with Phone Adapter
Configuration Utility, on page
14.
7