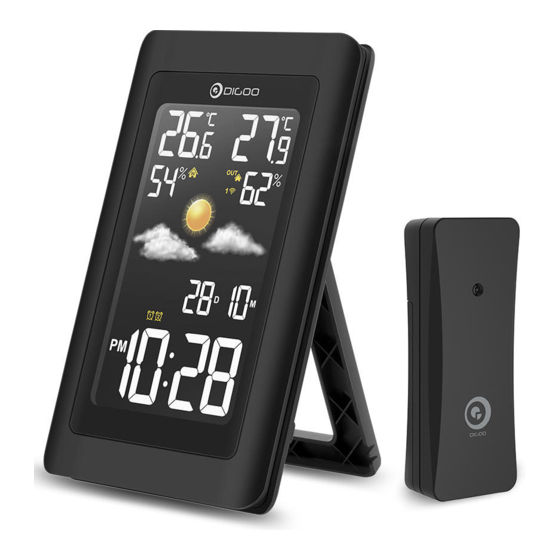
Digoo DG-TH11300 Manuel d'utilisation - Page 3
Parcourez en ligne ou téléchargez le pdf Manuel d'utilisation pour {nom_de_la_catégorie} Digoo DG-TH11300. Digoo DG-TH11300 6 pages. Hd weather station with negative color screen

Plug in the adapter to get the main unit started, or open the battery compartment cover
and insert 3xAA batteries to main unit and 2xAAA batteries to transmitter according to
the correct polarity showed in the compartment. After powering on, the weather station
will take about 3 minutes to connect with the outdoor transmitter.
(Under adapter mode: press
Under battery driven mode: press
seconds.)
1. The weather station will automatically receive signal sending back from the external
sensor after powering on, the receiving status will last for max 3 minutes, the recei-
ving antenna signal
stop receiving outdoor signal.
2. Press "
" button on main unit to alternate the readings of different channels' dis-
play. The channel switch order is CH1 --> CH2--> CH3 -->Channel scan (from CH1
to CH2 to CH3, 10 seconds intervals).
3. Press and hold "
re-registration.
1. The distance of main unit or transmitter should be at least 5~6.5 feet (1.5~2 meters)
away from any interfering sources such as computer monitors or TV sets.
2. The main unit cannot stand close to metal window frames.
3. Please do not use other electrical products such as headphones or speakers oper-
ating on the same signal frequency, which may cause interference.
4. Neighbors using electrical devices operating on the same signal frequency can also
cause interference.
GETTING STARTED
button on top to turn on or off the backlight.
RF(OUTDOOR TEMP. & HUMIDITY)
will flash, if no signal received in 3 minutes,
" button for more than 3 seconds, then manually enter into RF
REMARKS
button to switch on the backlight lasting 5
will exist and
