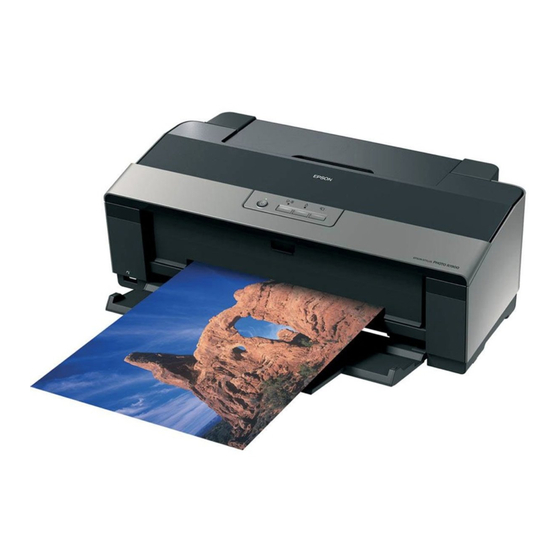
Epson R1900 - Stylus Photo Color Inkjet Printer Manuel - Page 8
Parcourez en ligne ou téléchargez le pdf Manuel pour {nom_de_la_catégorie} Epson R1900 - Stylus Photo Color Inkjet Printer. Epson R1900 - Stylus Photo Color Inkjet Printer 19 pages. C11c698201
Également pour Epson R1900 - Stylus Photo Color Inkjet Printer : Liste des pièces (9 pages), Commencer ici Manuel (8 pages)

Epson Stylus Photo R1900 Series
Loading Special Paper in the Single Sheet
Guide
You can load one sheet of these types and sizes of paper in the
single sheet guide.
Paper type
Epson Velvet Fine Art Paper
Epson Watercolor Paper Radiant White
Epson UltraSmooth Fine Art Paper
250 gsm
PremierArt Matte Scrapbook Photo
Paper for Epson
1. Remove any paper from the sheet feeder and close the paper
support.
2. Open the output tray and pull out the extensions.
3. Slide the roll paper edge guide on the back of the printer all
the way to the right.
4. Attach the single sheet guide by aligning the notches on its
base with the slots on the back of the printer. Then hook
the tabs over the top of the slot (marked with orange
triangles).
5. Turn on the printer so it can load the paper correctly.
Epson Stylus Photo R1900 Series
8 -
Size
Letter (8.5 × 11 inches)
Super B (13 × 19 inches)
Super B (13 × 19 inches)
Super B (13 × 19 inches)
Letter (8.5 × 11 inches)
12 × 12 inches
11/07
6. Insert one sheet of paper, printable side up and against the
right side, then slide the edge guide against the sheet, but
not too tightly.
Note:
Load paper short edge first, no matter which way your
photo faces. Check the paper package for any additional loading
instructions.
7. Push the paper into the printer until it meets resistance and
hold it there until the printer pulls it in slightly. Once the
printer begins feeding the paper, let go of it.
8. Open the printer cover and make sure the paper has fed all
the way into the printer and is straight. The paper must feed
straight so the printer can properly identify the edge of it.
If the paper is crooked or the front edge is visible, you may
receive a paper jam error when you print. To avoid this,
press and hold the
M
roll paper button for three seconds to
back the paper out. Remove the paper from the printer,
press the
I
paper button to clear the paper out error, and
load the paper again.
