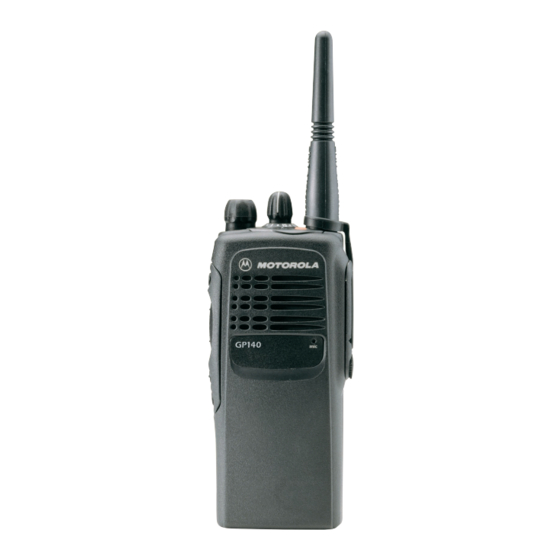
Motorola GP140 Series Manuel d'entretien de base - Page 24
Parcourez en ligne ou téléchargez le pdf Manuel d'entretien de base pour {nom_de_la_catégorie} Motorola GP140 Series. Motorola GP140 Series 46 pages. Professional radio, power distribution and controller
Également pour Motorola GP140 Series : Manuel de l'utilisateur (20 pages), Informations sur les services (32 pages), Informations sur les services (30 pages), Informations sur les services (30 pages)

3-10
6.6
Control Top Disassembly
1.
To remove the control top assembly, place a screwdriver next to the antenna boss, and pry it
against the control top escutcheon. This will lift the control top escutcheon away from its
double-sided adhesive. Grab the double-sided adhesive near the volume potentiometer, and
lift it away.
2.
Remove the control top seal, emergency button, and transmit light pipe.
7.0
Radio Reassembly Ñ Detailed
7.1
PTT Reassembly
1.
Replace transmit light pipe and control top seal.
2.
Place a new control top escutcheon adhesive against the front cover. Press the control top
escutcheon tightly against the adhesive.
3.
Put the PTT seal in the PTT bezel.
7.2
Control Top Reassembly
1.
Place the bezel top tab in the top slot inside the front cover PTT opening. Slightly bow the
bezel so that the bottom tab can fall inside the bottom slot.
2.
Press the PTT assembly against the front cover opening.
NOTE
Look inside the front cover to make sure the T-tab is fully engaged with the front cover. If
necessary, press the T-tab toward the top of the radio until it becomes fully engaged.
7.3
Speaker, Microphone, and Universal Connector Flex Reassembly
1.
Feed the universal connector tail of the speaker-microphone ßex assembly through the open-
ing in the side wall of the front cover.
2.
Peel-off the adhesive liner on the back of the universal connector tail of the ßex circuit. Attach
the ßex tail to the front cover using the guide pins for correct alignment.
3.
Replace the universal connector escutcheon. Make sure that all the connector openings align
with the gold pads on the ßex circuit.
4.
Align the notch in the speaker at the twelve oÕclock position with the tab on the front cover.
(See Figure 3-8.)
5.
Place the speaker retainer bracket into the hole on the top of the front cover, and bend the
retainer down to Þt underneath the boss below the speaker.
7.4
Keypad, Display, and Keypad Option Board Reassembly
1.
If you are replacing the display, use a new double-sided adhesive display pad (item number
17 on the exploded view diagram).
2.
Replace the keypad, and the keypad/option board. Make sure the display module ßex tail is
connected correctly to the connector on the keypad/option board.
3.
Insert the Òtop hooksÓ of the keypad retainer into the slots below the speaker (above the dis-
MAINTENANCE
