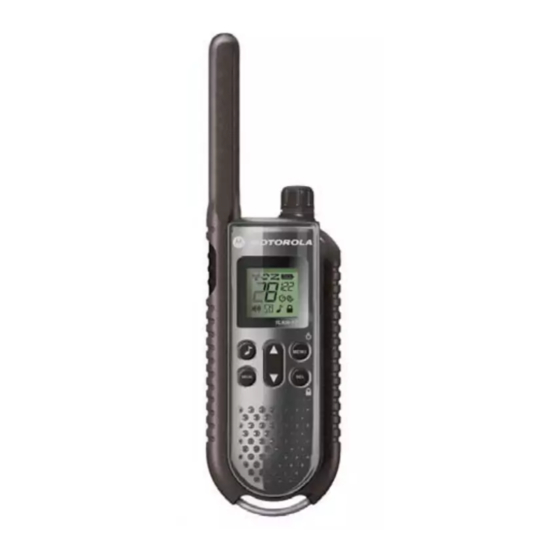
Motorola TLKR T7 Manuel du propriétaire - Page 7
Parcourez en ligne ou téléchargez le pdf Manuel du propriétaire pour {nom_de_la_catégorie} Motorola TLKR T7. Motorola TLKR T7 20 pages.
Également pour Motorola TLKR T7 : Manuel du propriétaire (28 pages)

UT035AH EN.fm Page 5 Thursday, June 26, 2008 12:45 PM
Congratulations on your purchase of the TLKR T7 radio.
This product is a lightweight, palm-sized radio. Use it at
sporting events to stay in contact with family and friends,
hiking, skiing, outdoors, or in a neighborhood watch for vital
communication. This compact, state-of-the-art device is
equipped with many features.
Package Contents
Your package contains two TLKR T7 radios, two belt clips,
one charging cradle, AC adapter, two battery support
brackets, two rechargeable NiMH battery packs, and this
reference guide. You may operate the unit 4 AAA alkaline
batteries (not included).
Install the Battery
Your TLKR T7 radio uses the NiMH battery pack or 4 AAA
alkaline batteries (not included). If alkaline batteries are
used, we recommend using high quality alkaline batteries.
To install the NiMH battery pack:
1) Make sure your radio is OFF.
2) Remove the battery compartment door by pressing the
tab at the bottom of the compartment door, allowing the
door to be removed.
3) Install the NiMH batteries into the battery compartment.
Be certain to follow the + and – symbols in the
compartment. Installing the batteries incorrectly will prevent
the unit from operating.
4) Replace the battery compartment door.
Battery Level and Low Battery Alert
This unit has a battery level meter on the display to indicate
the status of the batteries. When the battery in the unit is
low, the battery level meter icon
will flash. Replace the
alkaline batteries immediately.
Charging the Radio
If you use the rechargeable NiMH battery pack, two TLKR
T7 radios can be charged directly or by using the supplied
charging cradle.
Make sure the radio is turned OFF before placing the
radio in the charging cradle. Otherwise the battery level
meter icon will not indicate properly.
Direct Charge
1. Connect the DC adapter's plug to the radio's DC IN 9V
jack and plug the other end to a vehicle's accessory
power outlet.
2. Charge the battery pack for 16 hours.
Using the Charging Cradle
1. Connect the AC adapter to DC IN 9V and to a standard
electrical outlet.
2. Set the charging cradle on the desk or tabletop, and
place the radio in the charging cradle with the keypad
facing forward.
3. Make sure that the LED illuminates. Charge the battery
pack for 16 hours and remove the radio from the charg-
ing cradle after charge.
The charge indicator LEDs will remain on as long
Note:
as the radios are left in the charger.
5
